Today I finished the south side.
Whilst at it, I fixed a plumbing issue; the pipe from the downstairs shower drain was loose.
Today I finished the south side.
Whilst at it, I fixed a plumbing issue; the pipe from the downstairs shower drain was loose.
This one was a little challenging as it’s so low beneath the deck on this side that I kept bumping my head. But it’s in;
Now all that’s left is the south side. I also received my foam spray insulation and bought stain. The color will be brown, as the poll clearly had brown as a favorite over federal blue.
The entire East side is now skirted
I added an access panel to reach the faucet from the water heater, as that’s used to refill the hot tub.
The only sides left are the North-West and South sides.
The SaluSpa hot tub has been a great addition to Ozuye. But there were some issues with the cover, and the floating air cushion inside.
When I arrived this time, the air cushion was filled with water instead of air. That makes it close to impossible to take it out (due to the water weight) and totally defeats the purpose of the air cushion.
So after getting all the water out and re-inflating the cushion, I discovered a puncture in the inner section. So I patched that and now the cushion is fully functional again.
For future reference; the outer section is not to be inflated, nor unplugged, as the cushion is just the right size with only the inner two sections inflated.
To avoid the cover blowing away, the cord to tighten it is now going under the connections to the pump and heater. To uncover, release the cord and flip the grey cover over to the side next to the pump. Then remove the black cushion and store it so that the wind doesn’t blow it away.
The pictures below illustrate the proper way to place both the air cushion and cover.
A hose that can be connected to the air pump is in the bottom right kitchen drawer. With a little effort it just fits the black air cushion.
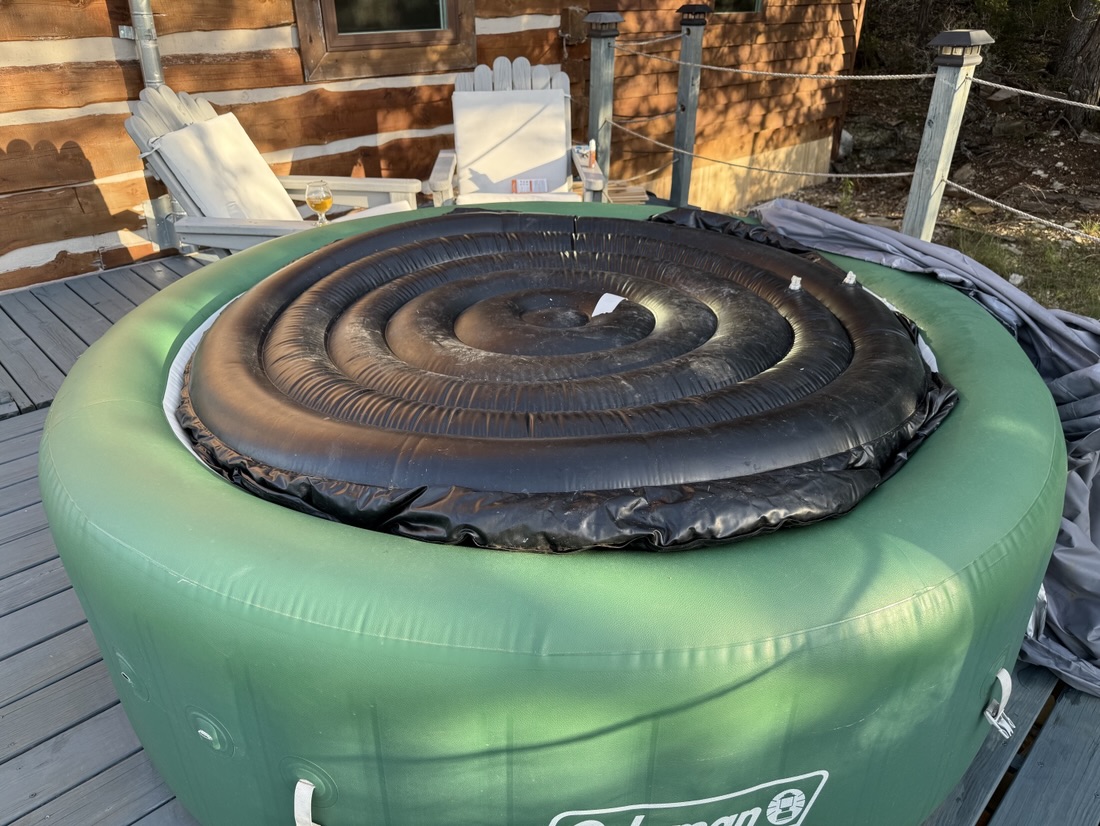
the outer section of the air cushion is deflated and plugged
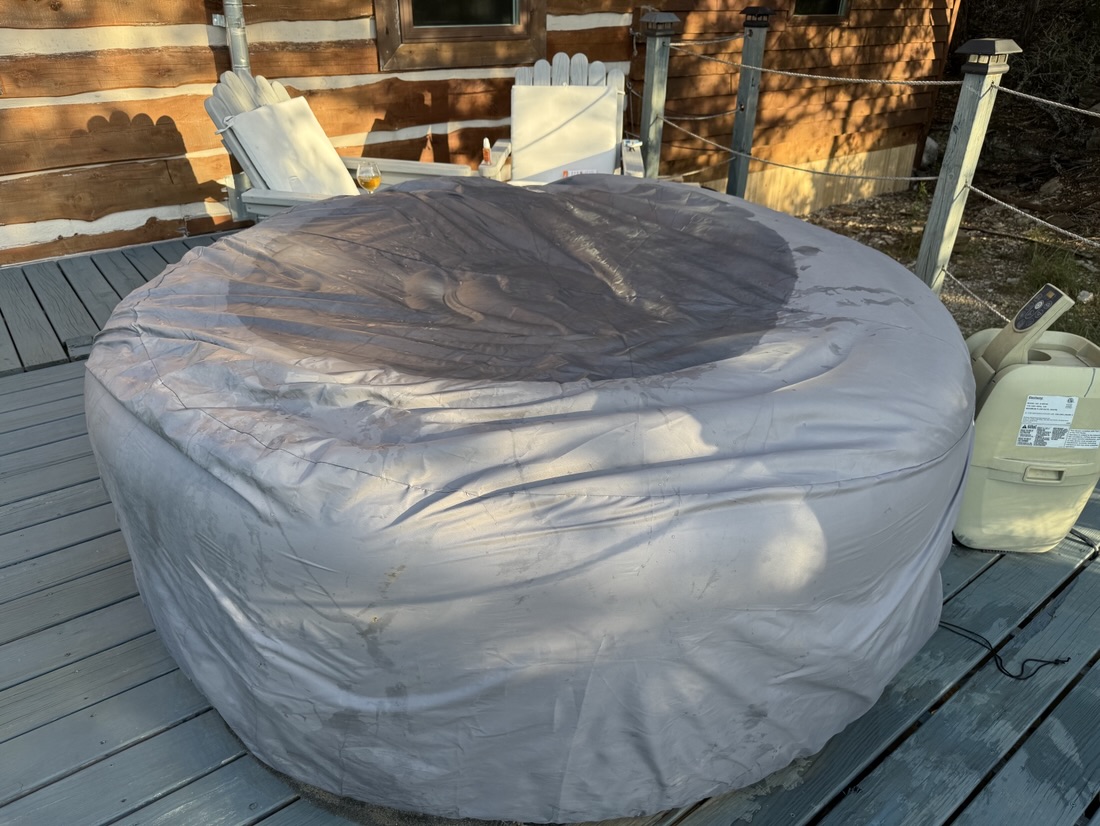
the cover fits the tub nicely once the tightener has been released.
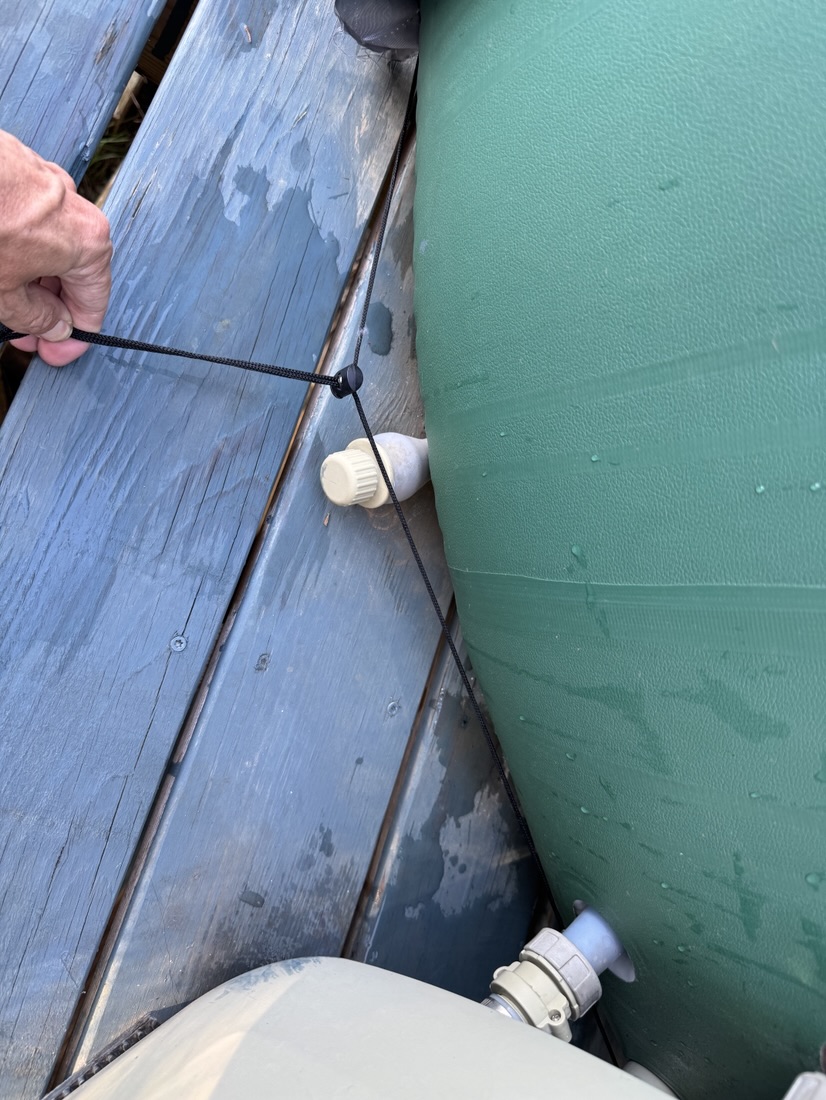
The tightening cord stays under the connections to the pump to avoid it getting blown away by the wind.
Today I finished the North East side.
I was able to use many of the left over pieces of cedar planks, so I might have enough planks to go all the way round. The remaining sides are less tall. I wonder which color stain would look best on the skirt; I’m thinking Federal blue like the deck.
At the North East side, the piers are the tallest, so I decided to make an access door there.
When closed you barely see it, but it’s big enough to put my bike and anything big for permanent storage.
I re-used the hinges and latches I had on the OSB, and made a frame from old 2×4’s
Today I skirted the extension on the west side.
The left section is still removable, as that’s where the scaffolding is stored when not in use.
A few months after my log home logs were in place and the framing was done, I received a letter from the Colonel (owner of the Stallion Springs subdivision land) stating that I needed to get the pier and beam foundation covered up, as that’s part of the rules in this subdivision. At the time, I needed a quick and cheap solution, which was OSB boards. That did its job until now, but the boards were coming loose and moisture had made them weak. In combination with the slightly exaggerated report that Ozuye was infested with wasps, this trip I’m replacing the OSB with much more aesthetically pleasing cedar planks, a process that is known as skirting.
Above you can see the first result, with the new cedar skirt on the right and the old white OSB on the left.
It’s been here for a few months now, but I hadn’t seen it myself. This one is copper, hoping that it will last a bit longer than the previous iron ones, that had a tendency to rust away in 2 years.
When I installed the rain gutter, it did not come with enough kit to prevent it from leaking a little at the seams. So as it’s nice weather, I decided to setup the scaffolding and fill the gaps from the inside of the gutter with some silicone kit.
It’s much easier to do this with the scaffolding.