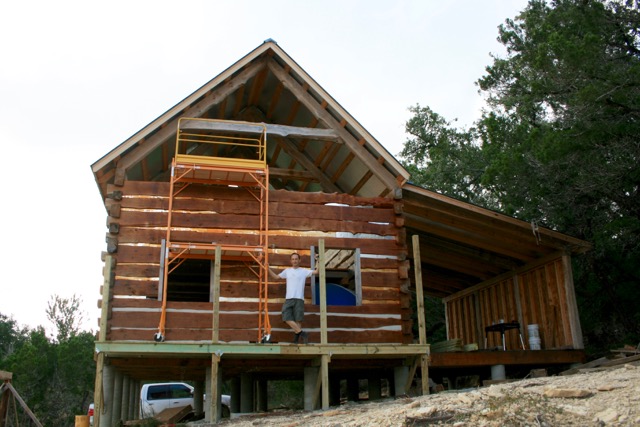
These famous words of John Hannibal Smith describe the feeling when I climbed the scaffolding on the deck I made;
Now I can reach almost anywhere without any problems. Well, almost… I kinda cheated as I placed the top half of the scaffolding from above,
as I was reluctant to climb up and hold the steel parts that make the scaffolding’s second level.
I’m fine with climbing on it, but assembling a heavy railing on top of the second floor is not fun for those of us with Vertigo.
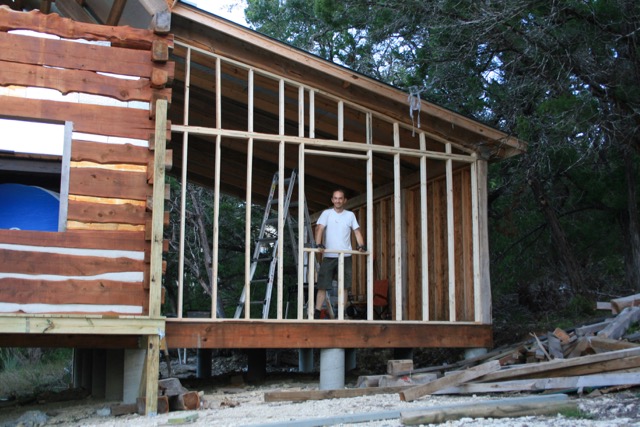
Likely I will ask Dave to do the top ends of the gable end walls (The top triangles closest to the rooftop)
Or maybe I will manage standing on the lower scaffolding floor, I will see how safe I feel doing it.
Category Archives: Uncategorized
Stick ‘m up, all 25 of ‘m
That’s right, I had to stick up 25 8ft 2×4″-ers also know as stick framing. Basically, it’s a skeleton of 2 x 4’s on which OSB boards will be screwed.
So this wall is made of 200 ft (61 meter) 2×4 pine.
The framing is good old fashion hammer and nail work, although I used screws to keep the wall flush and still reposition-able.
I’m standing in the main bedroom, behind what will be a 36×48″ window.
The next layer will be OSB boards, then a moisture protection and finally cedar siding. That’s boards horizontally placed with an overlap of about 1/5″.
Getting floored
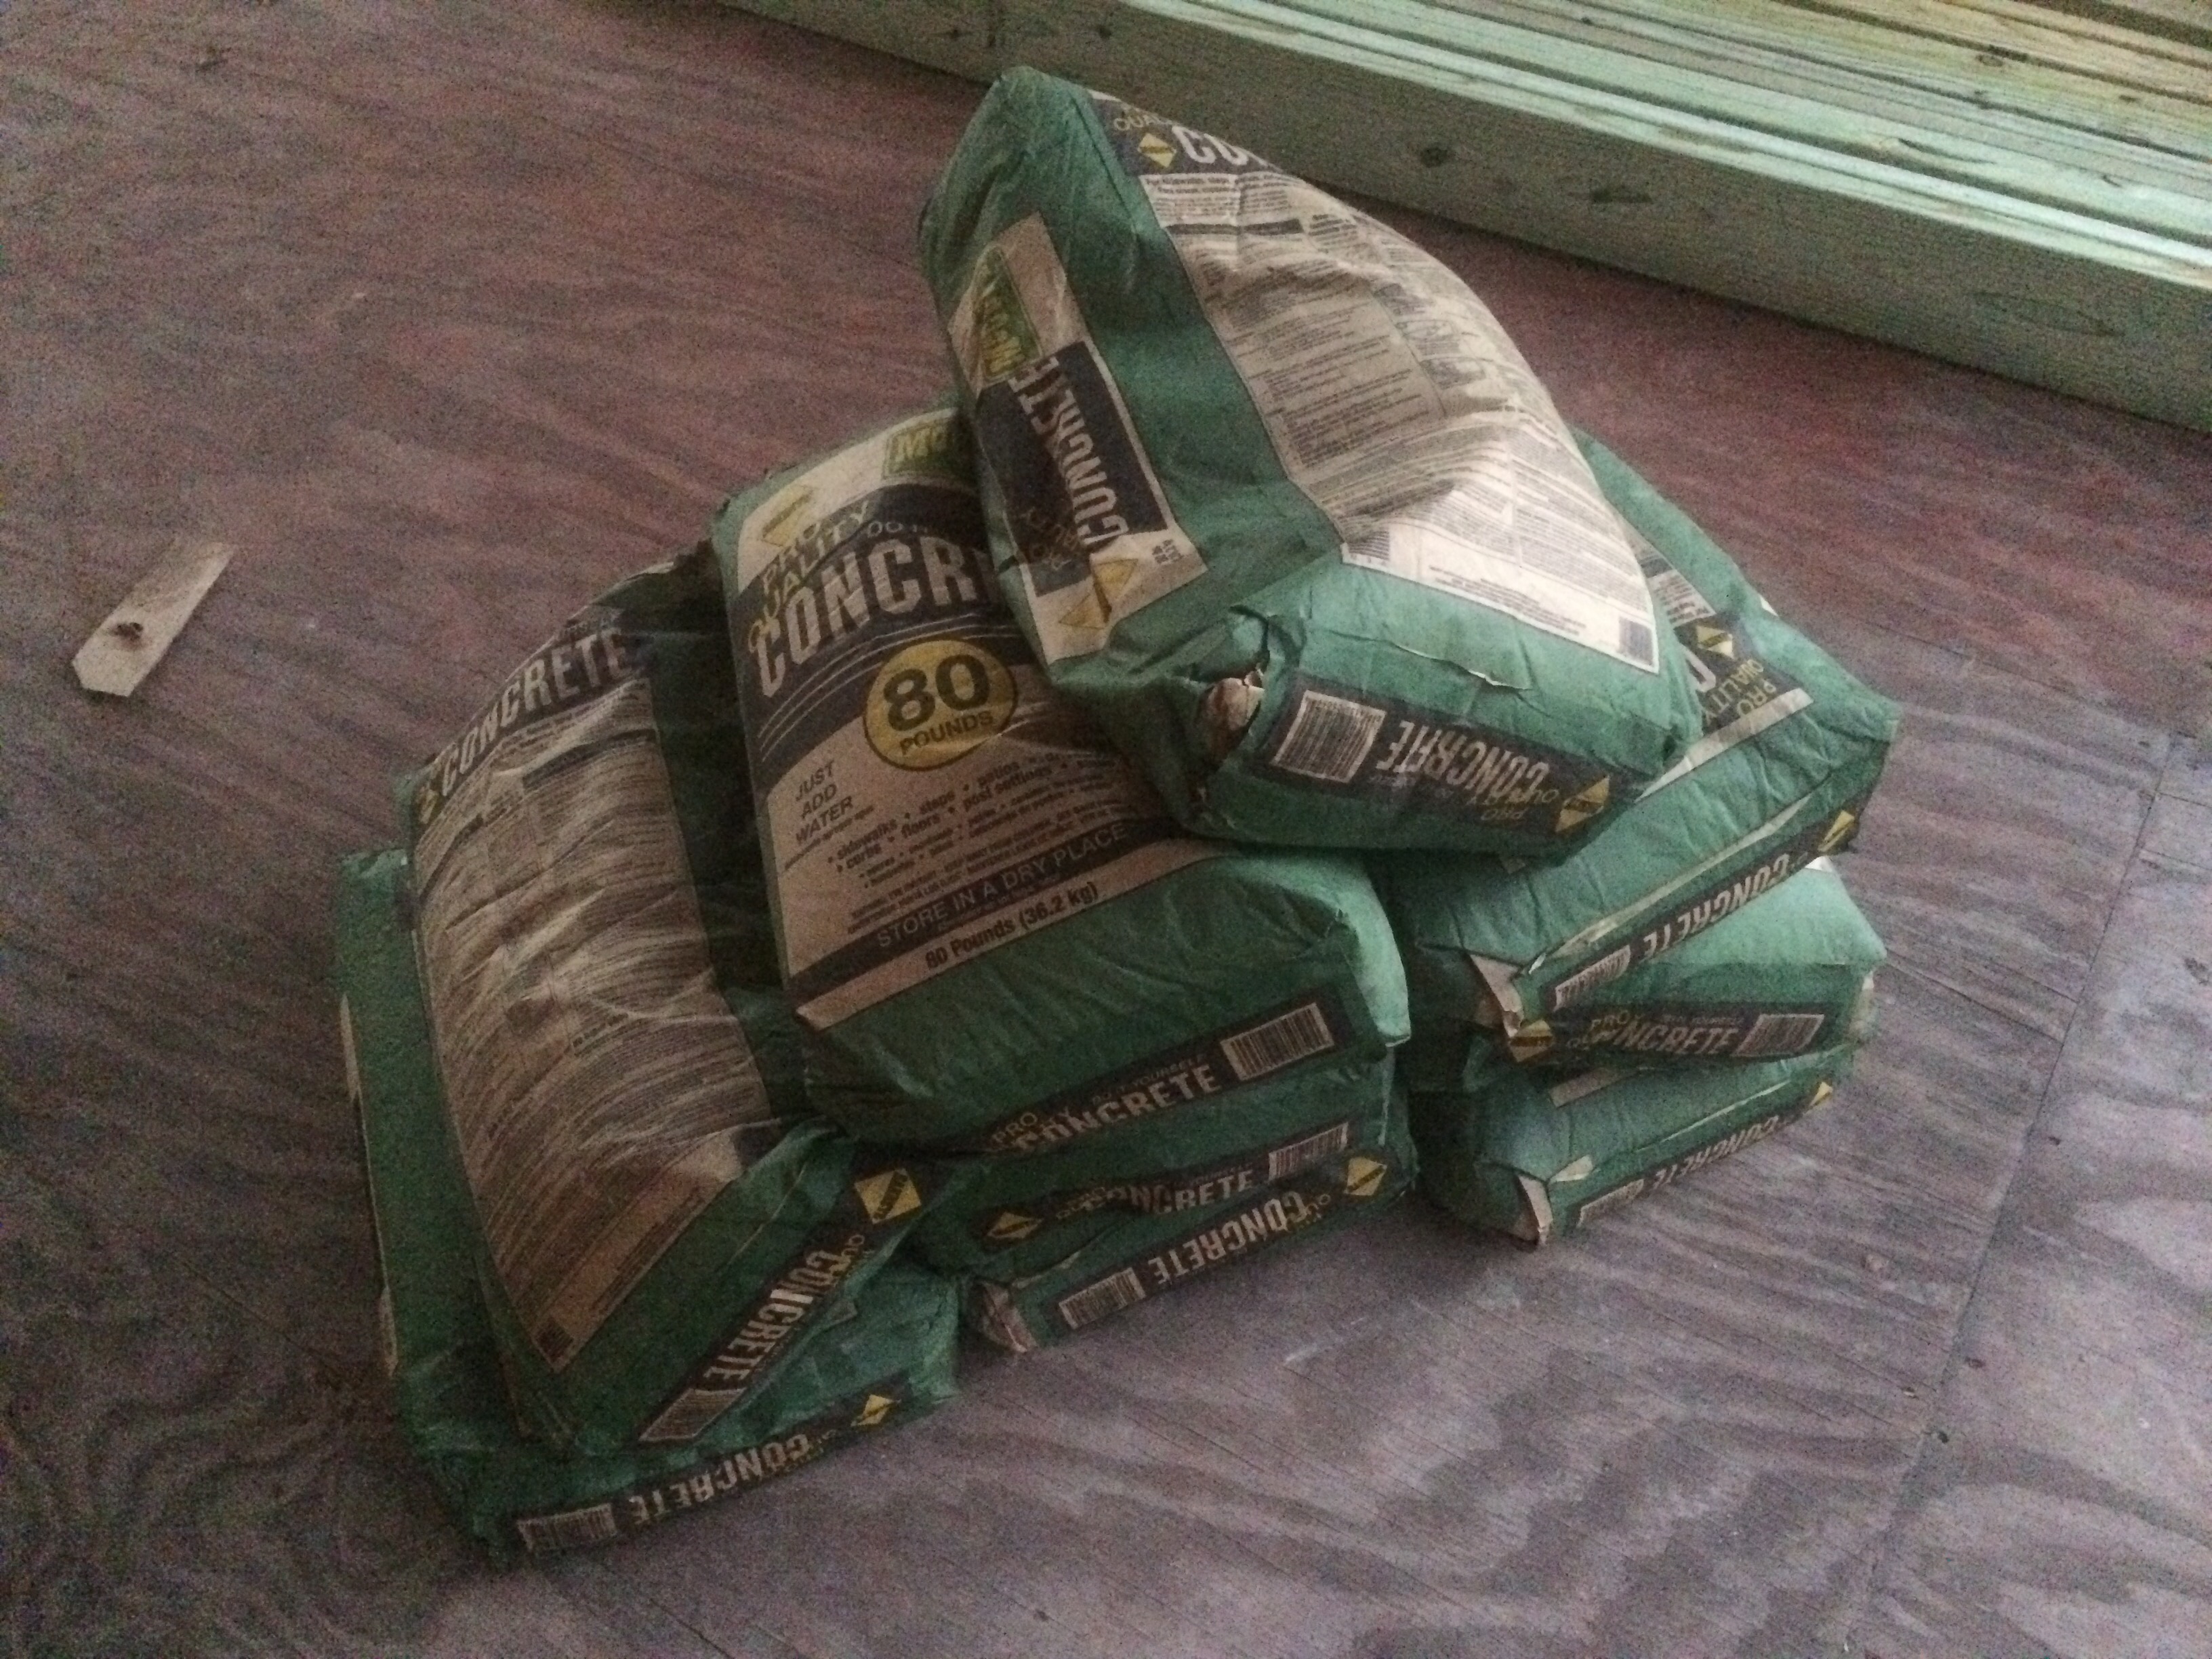
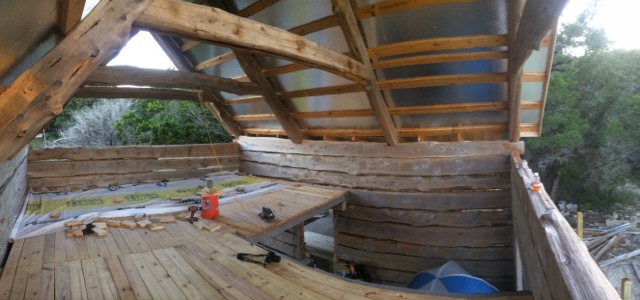
It wasn’t painful, it was just a matter of putting in the remaining 20 2×6 boards that make up the second floor. Last April, I had started it, but ran out of time to finish it.
Now 3/4 of the floor is covered. The remaining 1/4 will stay open and allow a stairway. Now access is ladder only.
This pano also shows the work I will start on tomorrow;
stick framing the gable ends (where you see trees).
Much easier to do with a floor. My tent (you can see the blue top) will have to be moved, so I can place the scaffolding on the inside, to reach the right end of the gable end, although I might try set it up on the western deck, as after stick framing, OSB boards will need to go up and then siding boards.
I will start with the eastern gable end; the floor goes across the entire width there.
Lifting 24 ft beam
I am many things, but very strong is not one of them. Luckily Dave is; he lifted a 24 ft tree above his head whilst all I had to do is hold the other end in place, that was already at the right level. According to building codes we probably would have needed 8 people officially.
But he made it and it is up there, ready to receive the 13 joists of 12′ long 10″ x 2″
The picture below shows the result. You can also see the eastern deck now ready. (The backdrop is the sunset in the west)
Life begins after coffee
Posting about posts
The posts I’m referring to are the 4×4″ posts for the east and west decks, and the four cedar trees making the main deck posts.
All were put into place today, and I managed to put the boards on the western deck.
The first picture shows the front of the house, with the four trees up like totem poles.
Below that is the finished western deck. As you can imagine, it’s going to be much easier to set windows,
and chink and stain the logs now it is only a story and a half up.
In case you’re wondering; the wood is so called treated pine, which has an ugly green hue,
but it will be stained in a color similar to the logs.
After all the work I enjoyed my first beer on the deck, watching the sun set and the stars appear.
It’s been a while since I saw that many stars; it’s clear and wonderful weather.
Support on deck
To ena
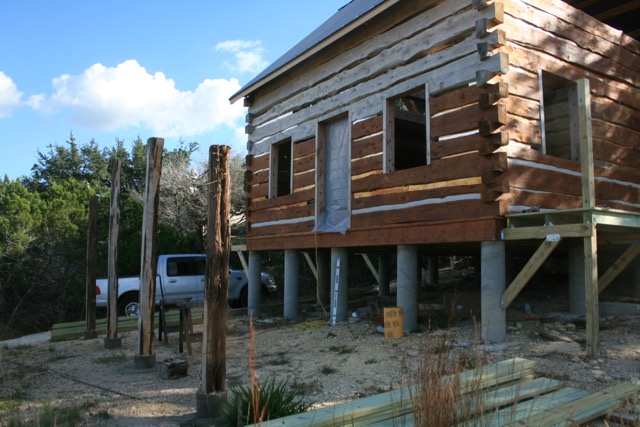
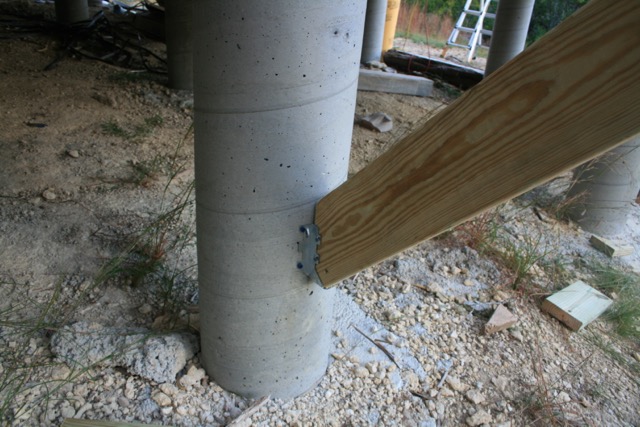
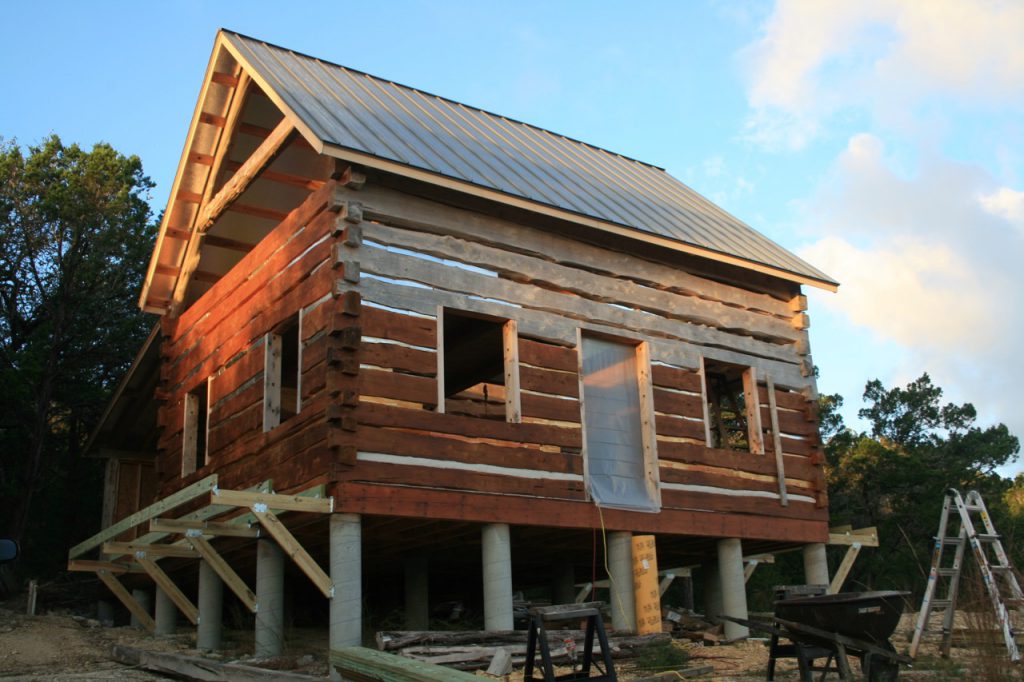
ble me to reach the gable ends (top parts) of my east and west walls, I have created a deck support that will allow me to put scaffolding on it,
so I can reach the second floor safely. With a ladder from even ground this was just too risky, especially with heavy loads.
So today the east deck support was finished and the holes for the 8 poles that help support it poured.
The east and west decks now looks like this (at sunrise this morning).
As you can see, it makes reaching the gable ends a lot easier and safer.
The decks rest on both a diagonal beam;
But for extra safety, vertical posts are added also.
Hitting rock bottom
Sometimes hitting rock bottom can be fun; when it is intended to make holes for concrete piers.
That’s just what I did today; hacking away with a pick axe and a piece of rebar and a hammer to dig into the not so cooperative soil.
Or to be more accurate, pretty rock hard limestone filled with even harder rocks.
But I managed to dig in and all holes are dug and filled with concrete.
4 more bags 80 pounds and 4 bags 60 pounds more were needed, but now it is ready, drying in to receive a load tomorrow.
The main deck will rest on four cedar tree logs, resting on these rebar reinforced concrete piers
The east and west deck will be getting extra support from these little piers;
Door traveling home
Okay, posting from a tent can be a bit error prone; I thought I had posted, but now find it was not posted yet.
So, yesterday, I finally brought my door home. Now there’s a sentence you don’t see every day…
The door has been in 3 different locations, but now finally is inches aways from it’s final destination.
All it needs is some Jambs, and heavy duty hinges, as the door is so heavy I can hardly lift it.
The color will match nicely; the wall you see below are unstained; they will be like the door is now.
Can you be a little more concrete?
Or to be more precise; can you be 720 pounds (326 kg for those of us on metric) more concrete? That’s the weight of the concrete that will be poured to support the decks, not including the water.
The concrete will support 4 cedar tree logs that will be the front of the deck. The deck will be 24 x 10 ft (7,3 x 3 meter) and continue on the sides at a 4 ft width. Altogether that’s a truckload of wood;
Driving that in from Mc Coys was a careful ride; the total weight probably exceeded 1500 pounds, almost half the weight of the truck. I definitely felt it making turns and going uphill. Even though I stayed on the right lane and pulled over where I could, I still made some new ‘friends’ that thought I should drive the allowed 55 instead of 45 mph. I preferred to be safe.