Tag Archives: upstairs

Upstairs Bathroom Do-Over

Earlier this year, the upstairs shower had a leakage problem. At first I thought it was water going through the cracked hardy backer board that was used as un underfloor. So I used grout sealer to make the grouts more waterproof. But as it turned out, the problem was bigger; besides the cracked underfloor, the shower pan exhaust pipe got loose, so whenever the shower was used, water would leak under the shower pan, through the grouts, underfloor and floor boards onto the kitchen floor below.

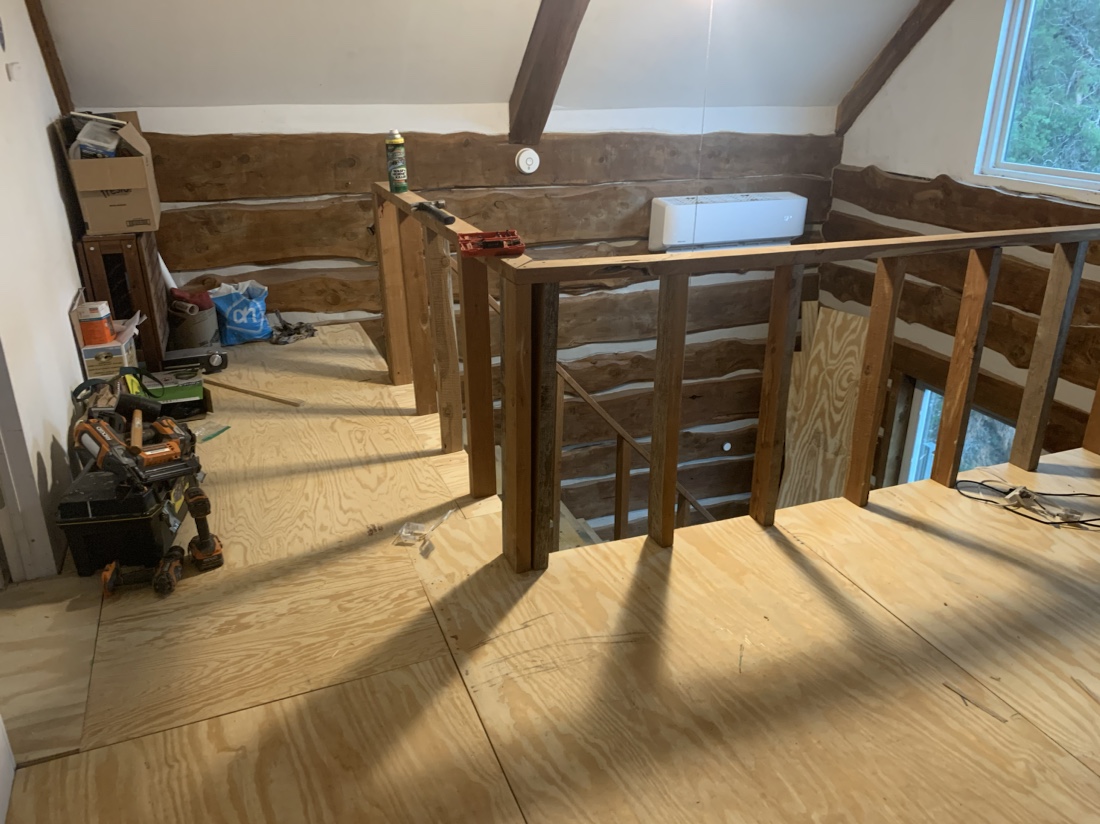
So drastic measures were called for, as can be seen here

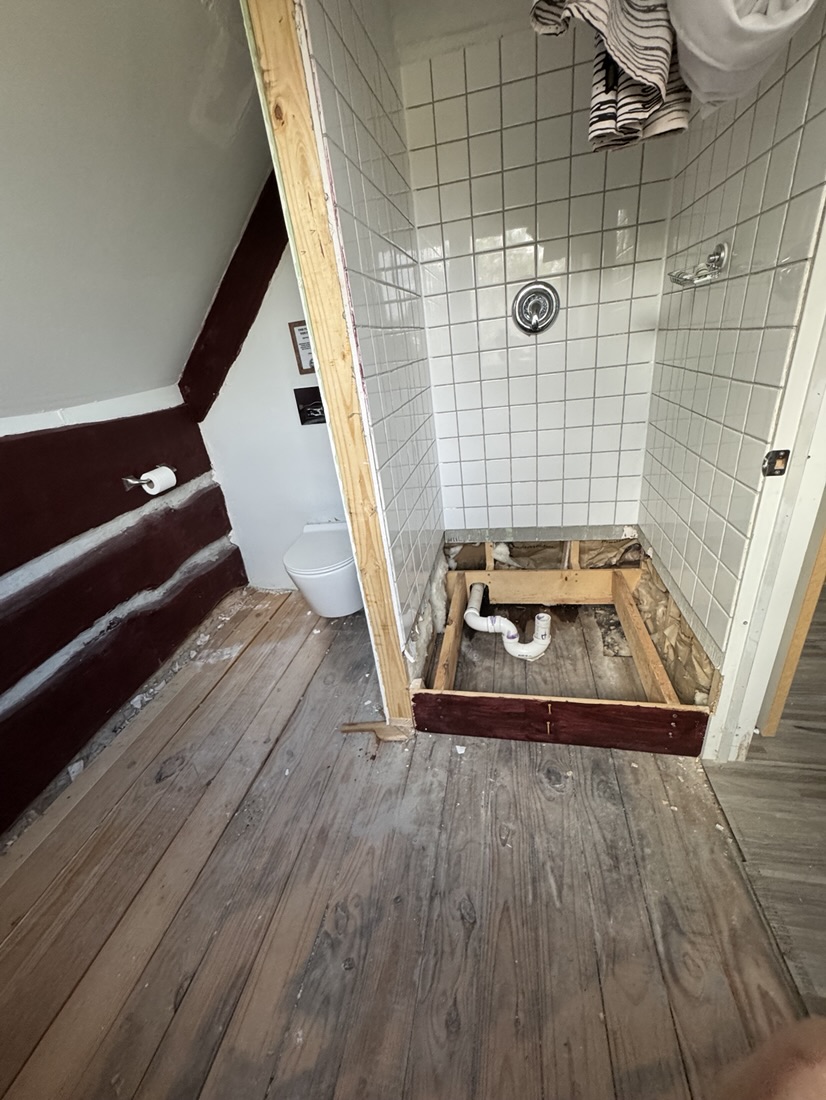
I removed the tiles, (cracked) hardy backer board and the shower pan.

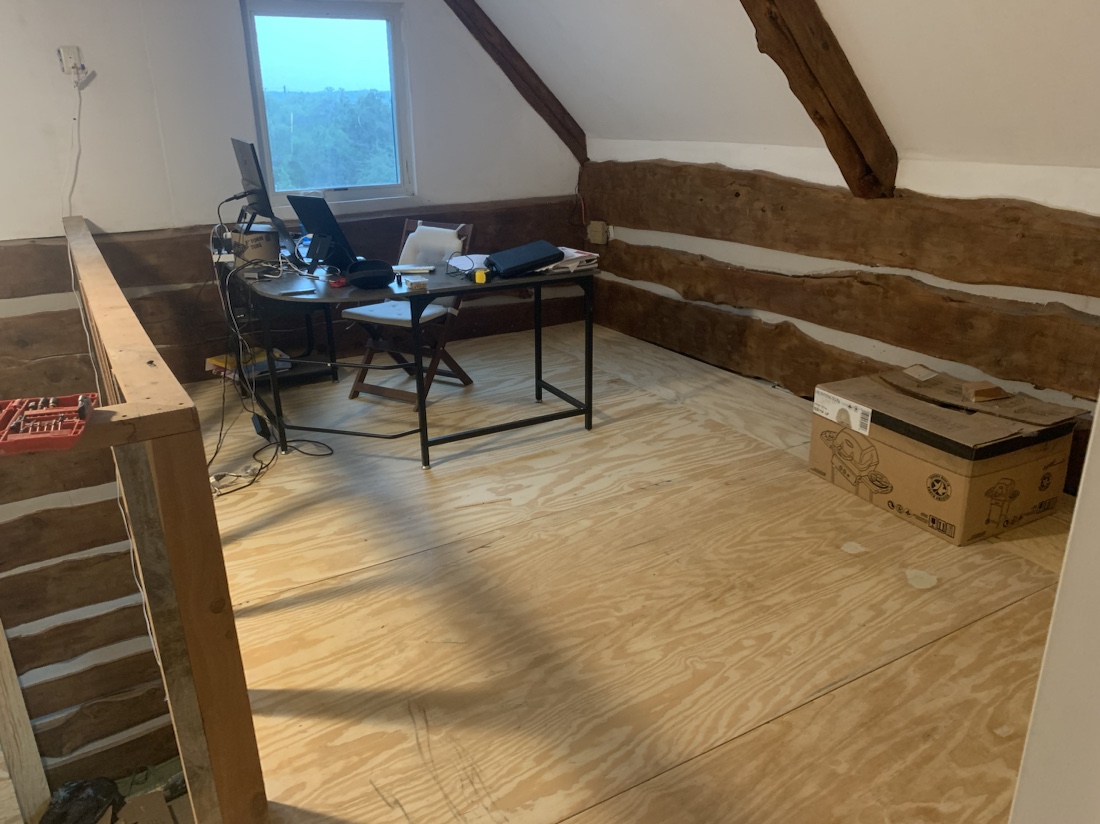
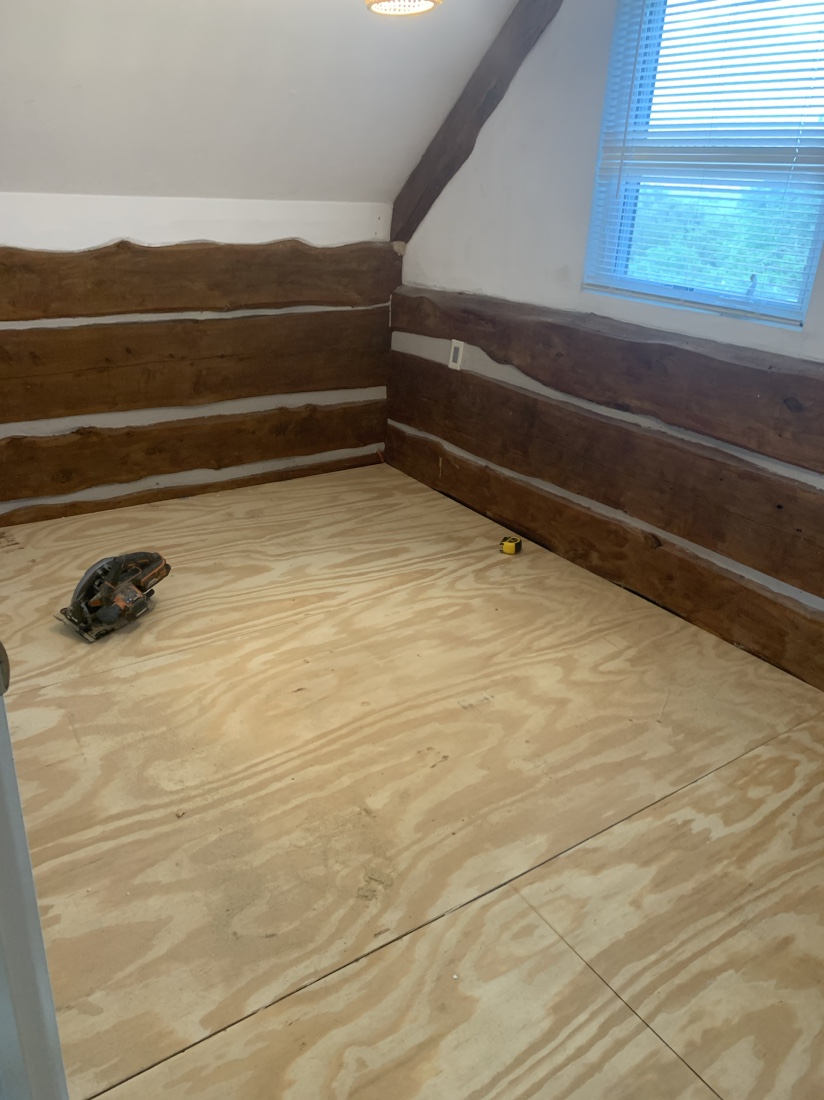
After that I put a new subfloor in of 19/32″ plywood. I decided to not put the tiles back in, as the floor might work some more and again break the underfloor or tiles.

I managed to get the plywood under the shower wall, so there’s now a solid underfloor that can give a little bit if the beams on which the floor rest work some more.

On top of this floor I will put vinyl click tiles, which are waterproof and more flexible than stone tiles. And warmer to the feet than stone tiles.

Toilet Repair

The floating toilet upstairs somehow got its support frame inside the wall bent. I suspect someone with more weight than is healthy managed to do so. In order to prevent it from bending even further, I gave the toilet trunk support;

I used the part I cut out of the wall to put the pellet stove outlet, as that has about the same curve as the toilet bowl. Although it’s no longer floating, it will support even the heaviest people.

Not one night stand, but two

I’m not a fan of one night stands, so I made two. From the very last leftovers of the cedar wood I had. I had to improvise a little, but I think this looks nice.

Here’s a closer look at one night stand;

As this bedroom has no air conditioning of its own, I added a tower fan that is quiet and has a remote.

Closet Storage Space

Today I picked up some free storage space for upstairs; The Armoir fits pretty well here;

The upstairs bedroom had 0 storage room also, so this one fills up the corner nicely;

Next I will need some storage space for the HCPL amenities such as towels, paper towels, shampoo etc. But that’s for local stock to easily re-supply the bathrooms and kitchen, so I might add some shelve space in the technical room.

Smooth first floor in.

Today I put the remaining 7 sheets of Birch on the upstairs floorboards.

It’s definitely more smooth and feels more rigid than when the floor was just the boards.

I did have to remove the railings, and afterwards put it back on top of the sheets. Next step will be priming the floor to get a stronger bond with the vinyl tiles that will be placed on this floor.

Above is a picture of the ceiling above the couch downstairs. Before, you could see through the cracks, and dust would fall down on the couch, table and bar. Now that the birch floor is in, that issue is solved.

Smooth floors upstairs

The floors upstairs are pine boards, most of which, but not all tongue and groove. Especially where they’re not tong and groove, the floor isn’t 100 % flat and smooth. And if I want to put something like vinyl on the floor, it does need to be smooth.

So today I got 10 sheets of 4×8 5/8″ birch. I picked them up returning from my (failed) attempt to get my truck inspected. Apparently the crack in the windshield that was there 6 years ago, now is a reason to deny passing inspection. So I’m working on getting the windshield replaced.

The floor is now very smooth and ready for vinyl tiles, which I still have to get. The bed is moved back in, so I’ll be able to sleep there again tonight.