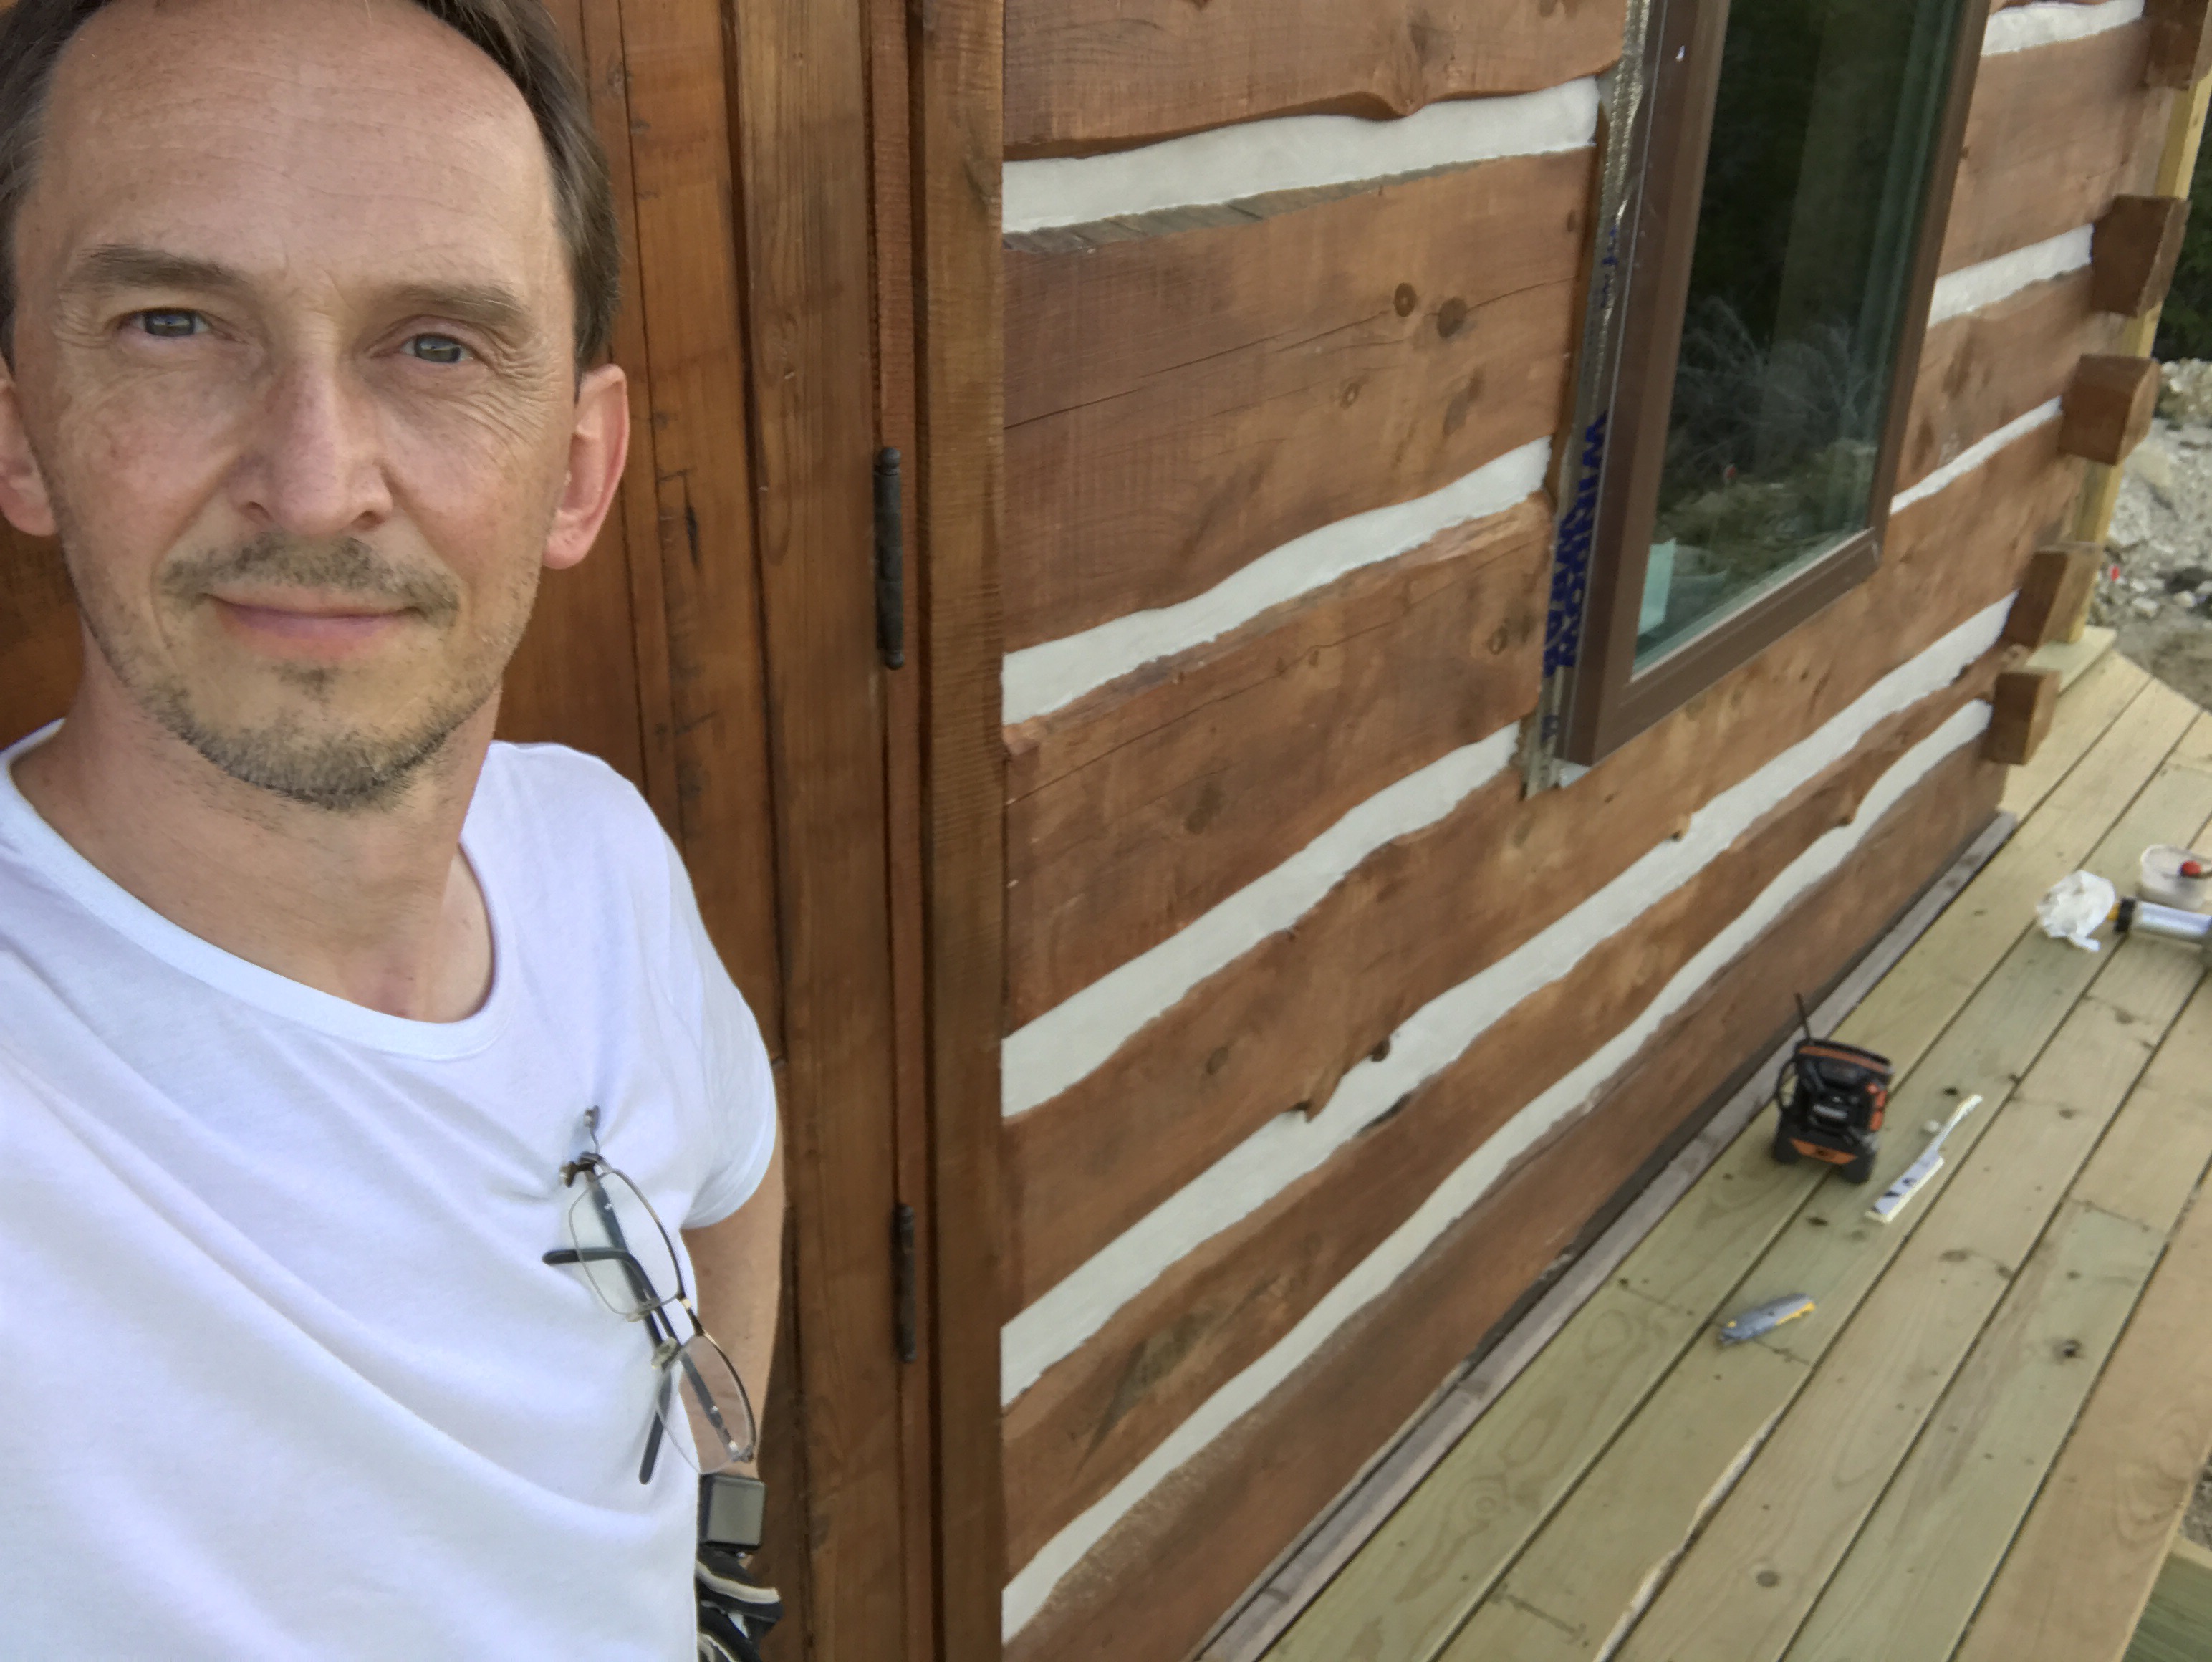
The Final two windows have gone in today, this is on the east side, second floor,
so up quite a bit. One of us works from the inside, the other from the outside.

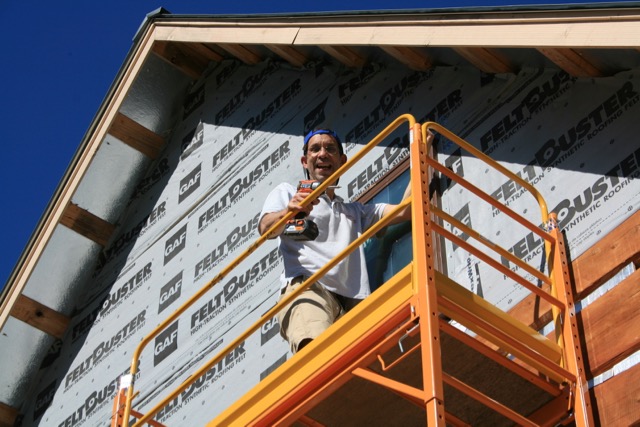
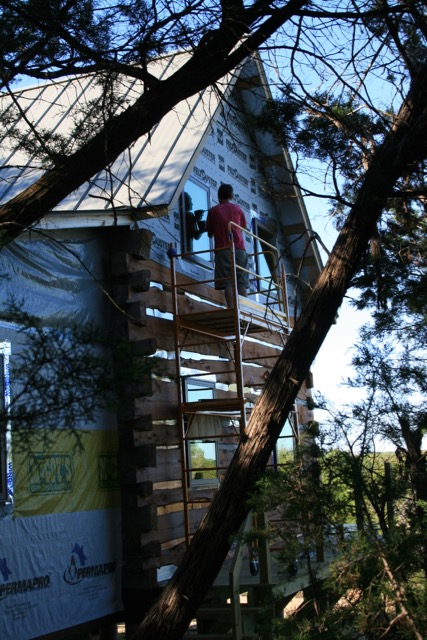
The Final two windows have gone in today, this is on the east side, second floor,
so up quite a bit. One of us works from the inside, the other from the outside.
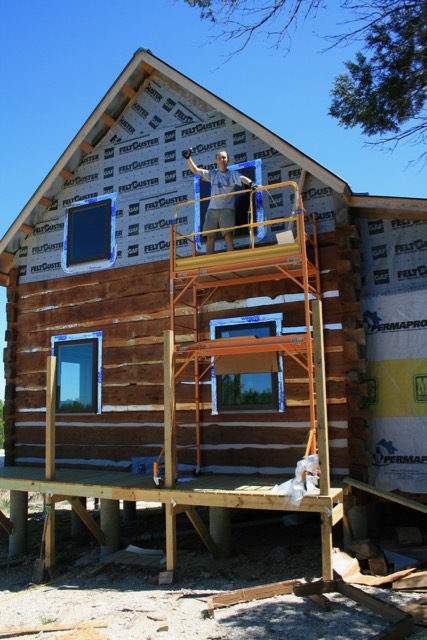
Today Mart and myself put in the top two windows on the west side. The framing had to be adjusted to fit the 36 x 42″ windows. With one standing outside and the other inside, it was easier to reach these high up windows.
 Mart found his perfect car at Home Depot ; the Mart Cart ?
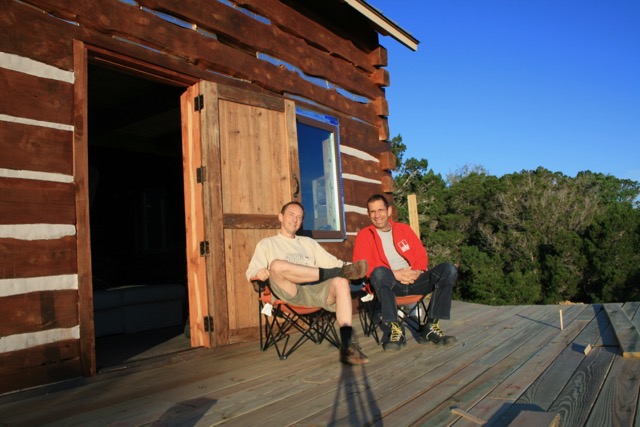
Yesterday my good friend Mart arrived, so this morning we are ready to take on the two men jobs!
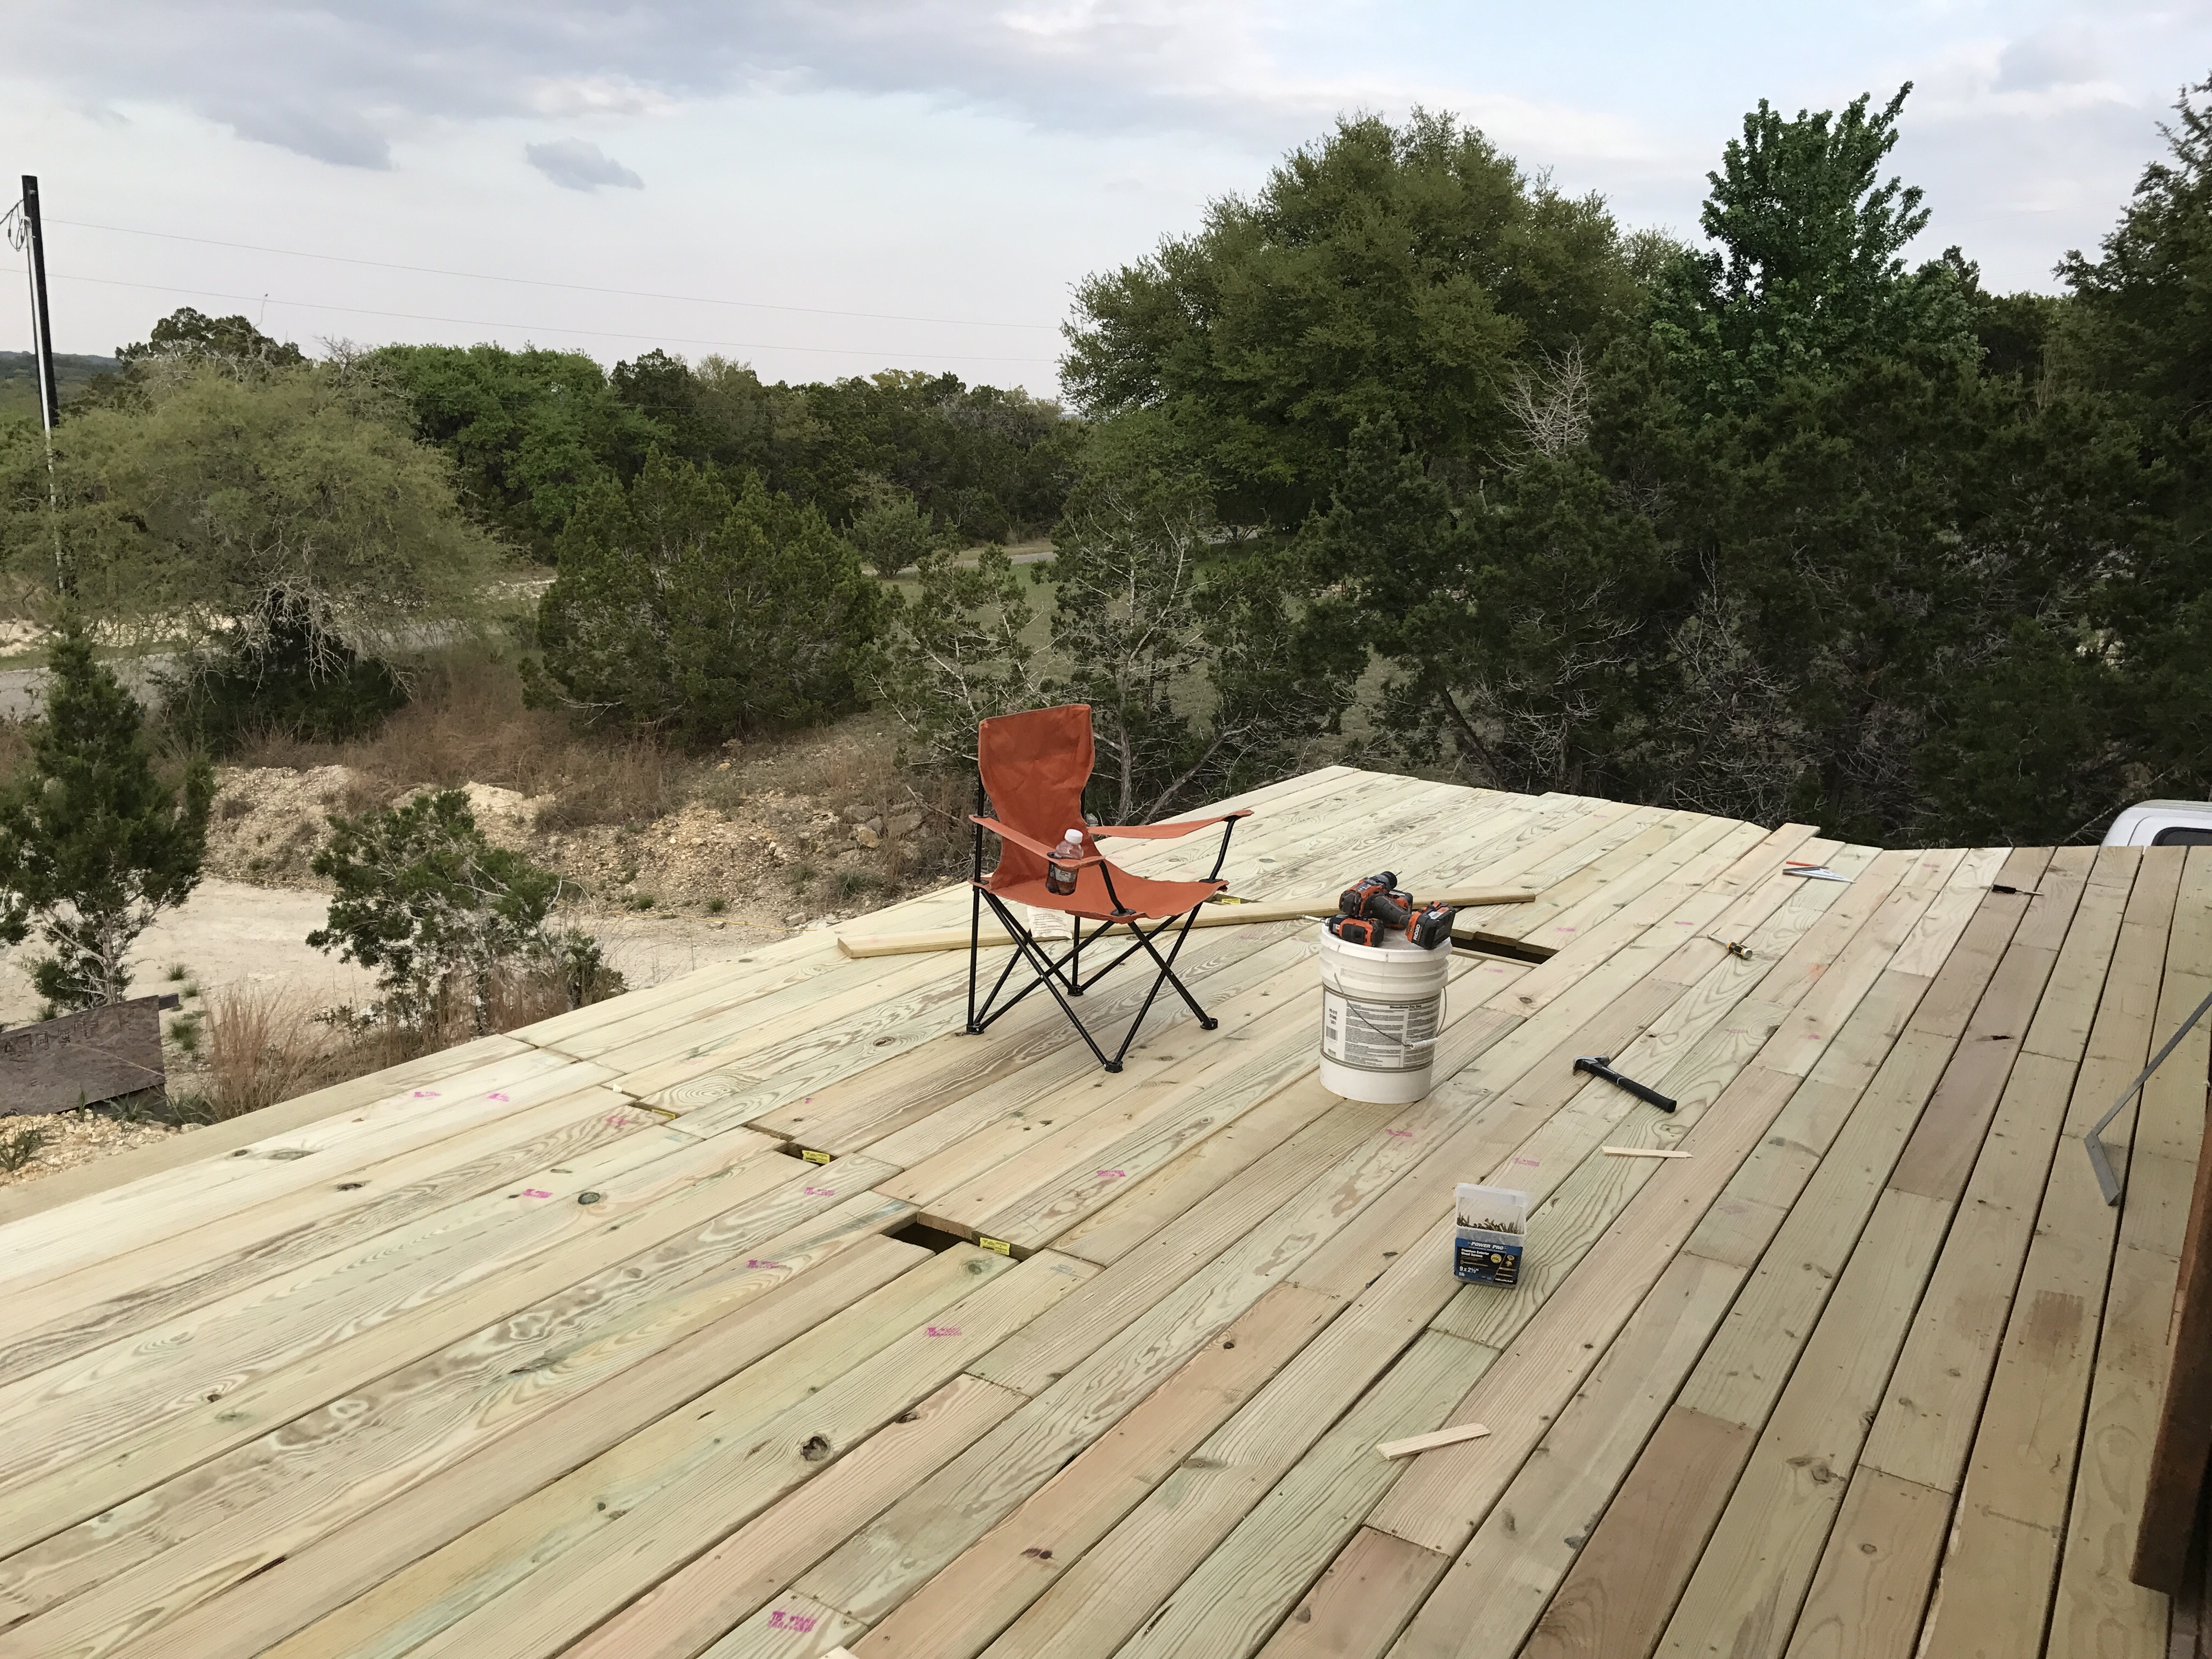 Smuggling here a bit; most of the boards are still loose but this gives an impression of the size of the deck; it’s a heck of a deck. 500 screws in so far and counting.
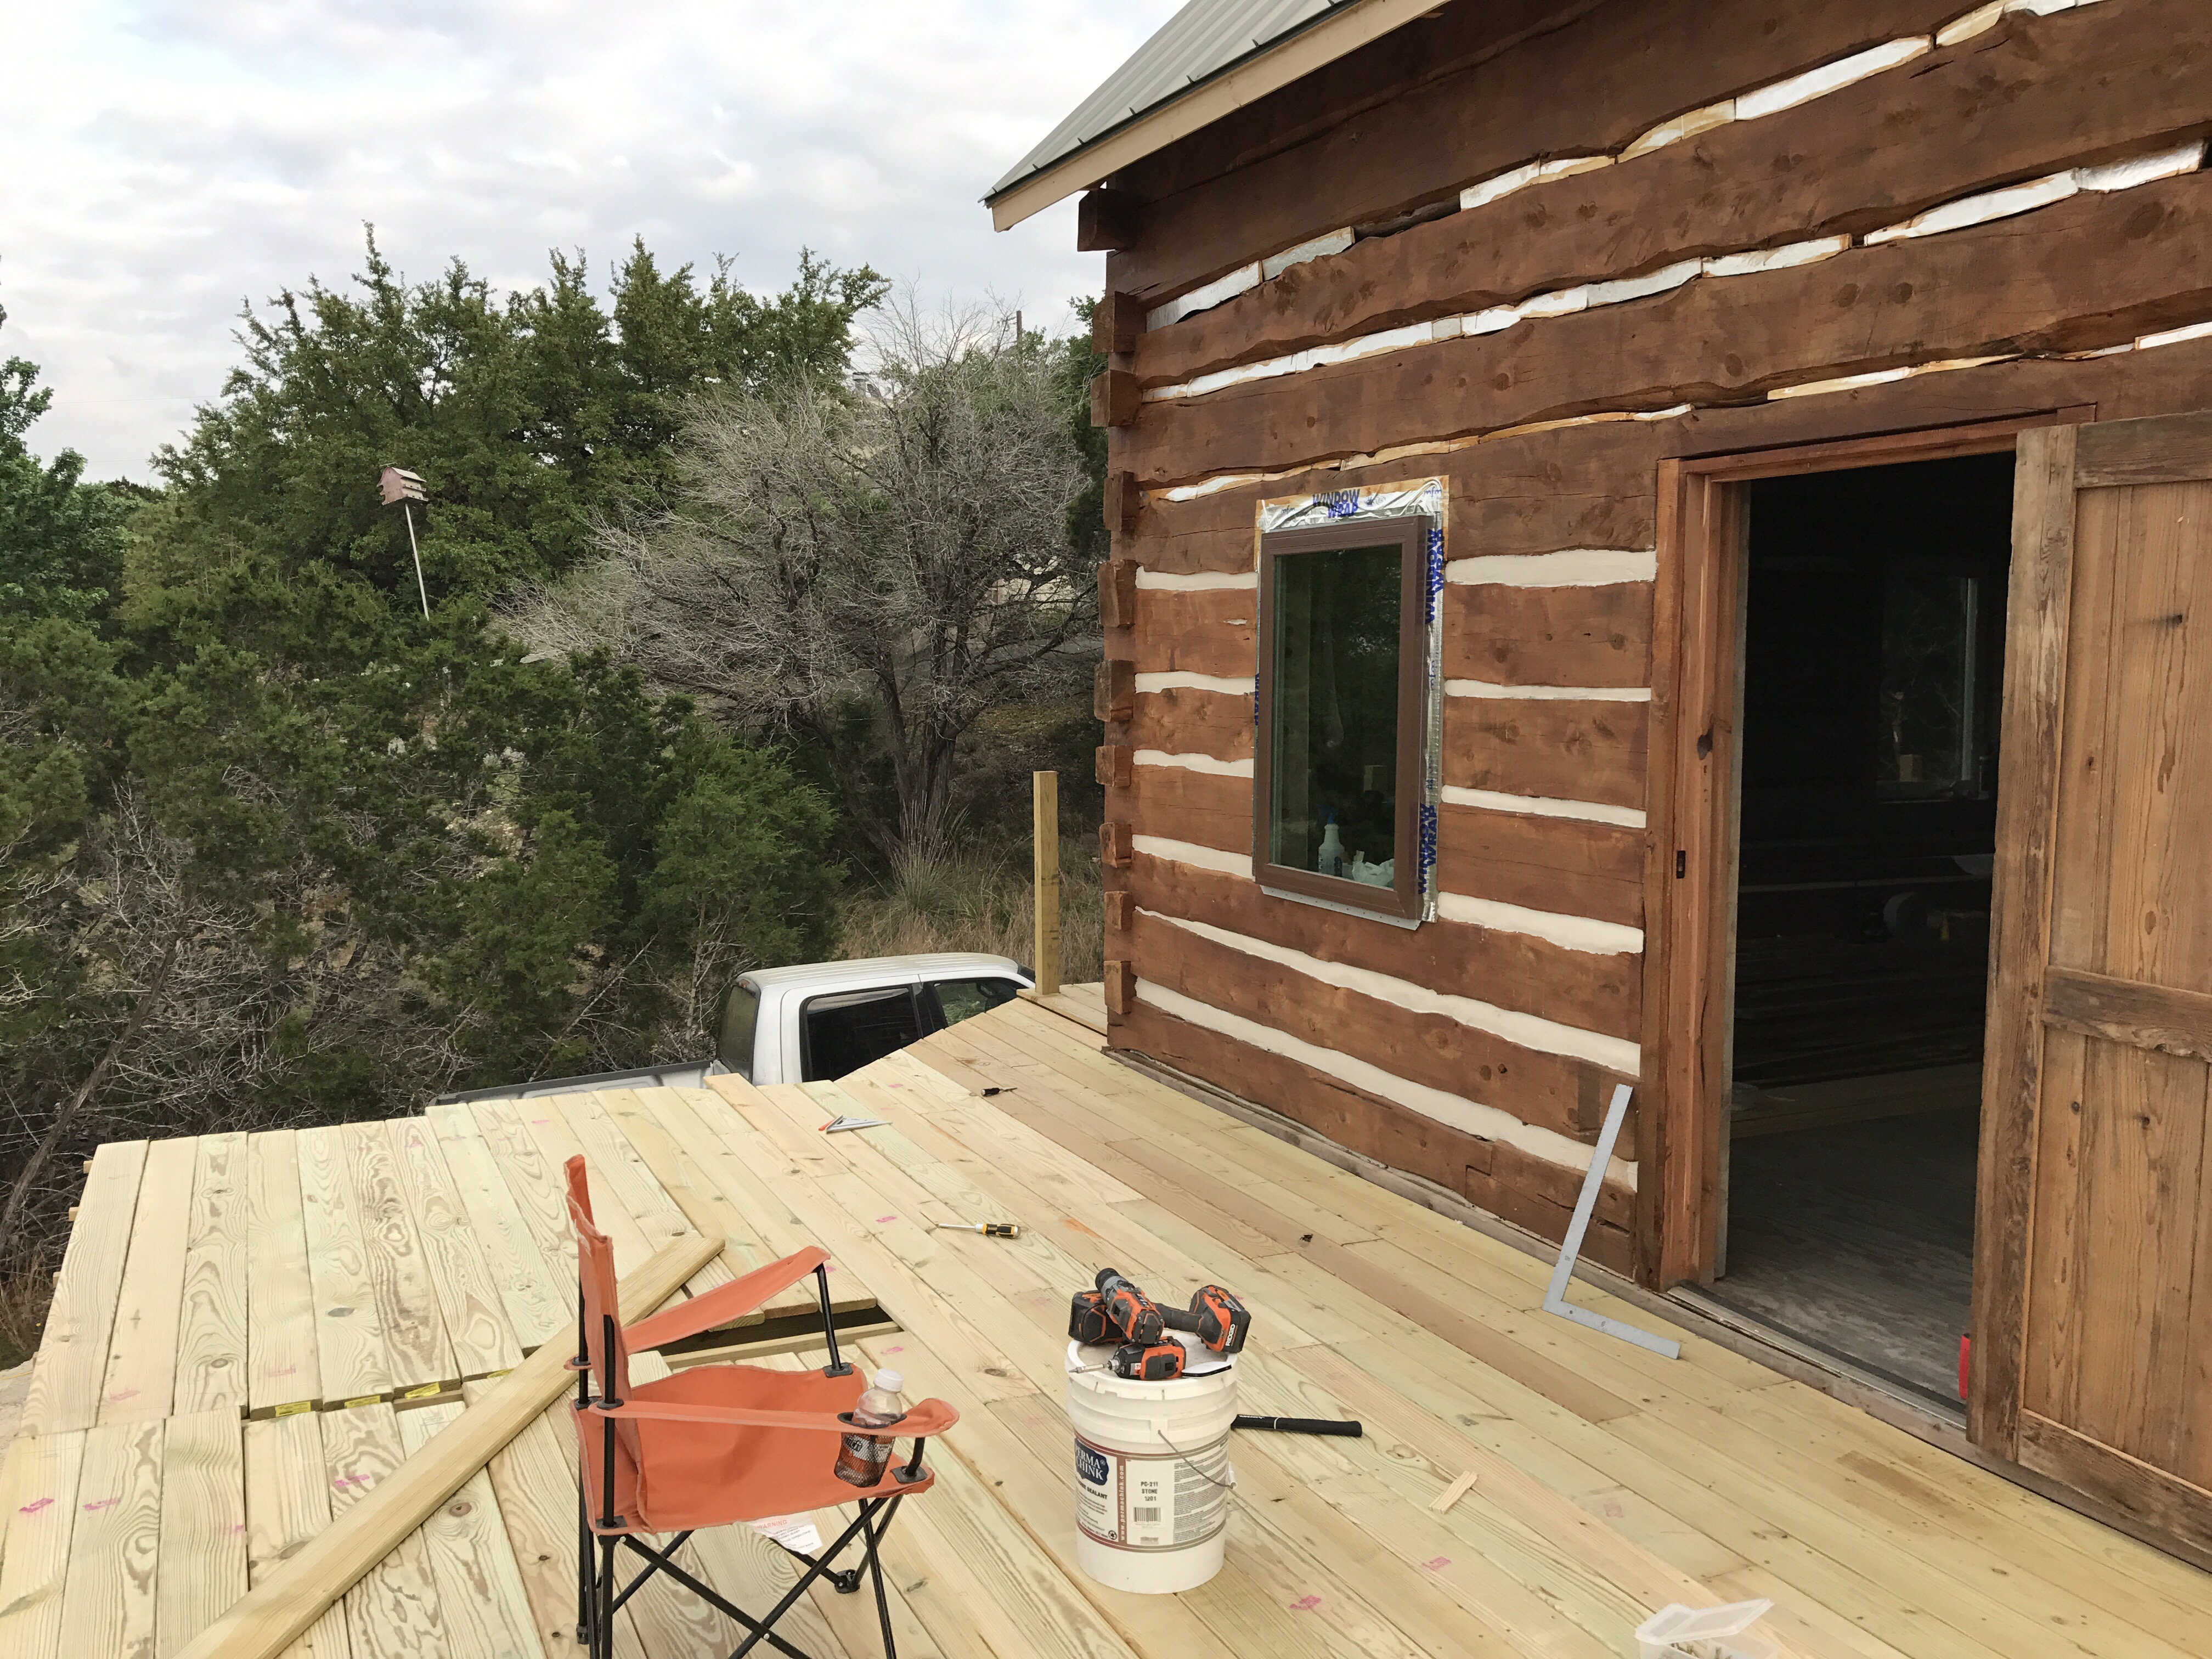
Instead of just showing the end result, this post shows the steps involved getting from a framed wall to a window.
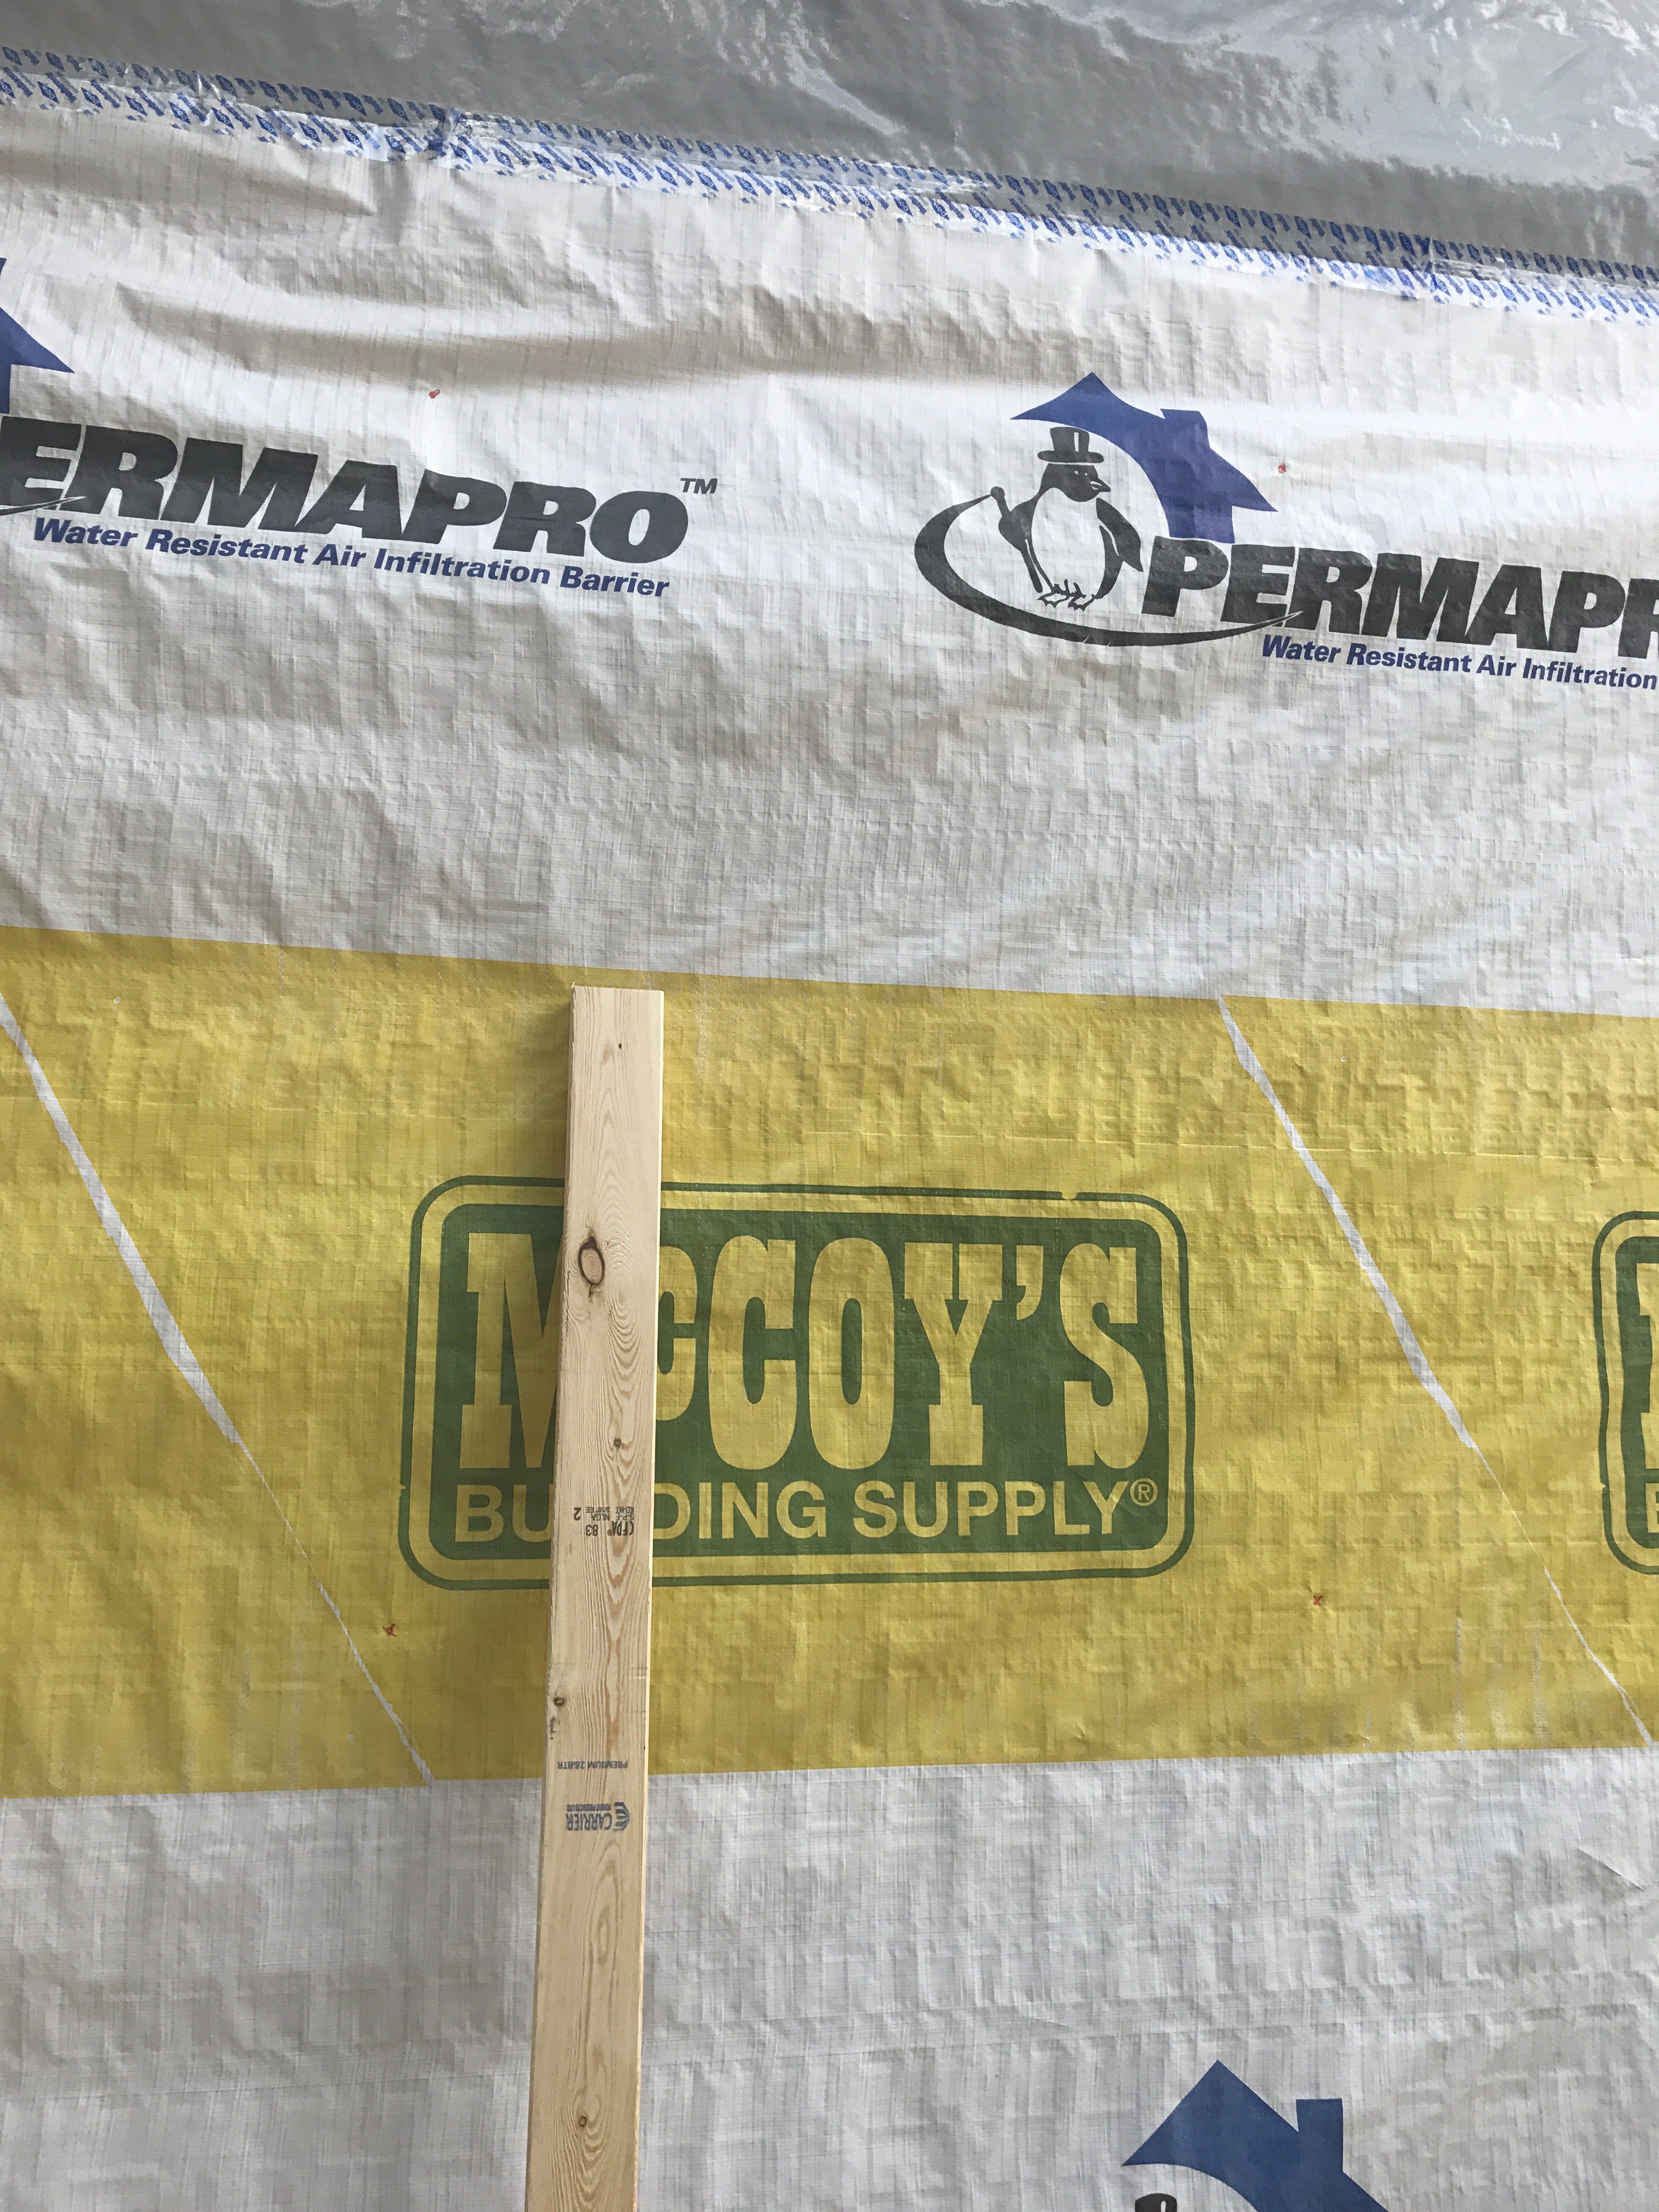
The wall is stick framed using 2 x 4″ pine and the sheathed with OSB panels. The entire wall is then wrapped with a moisture and air barrier.
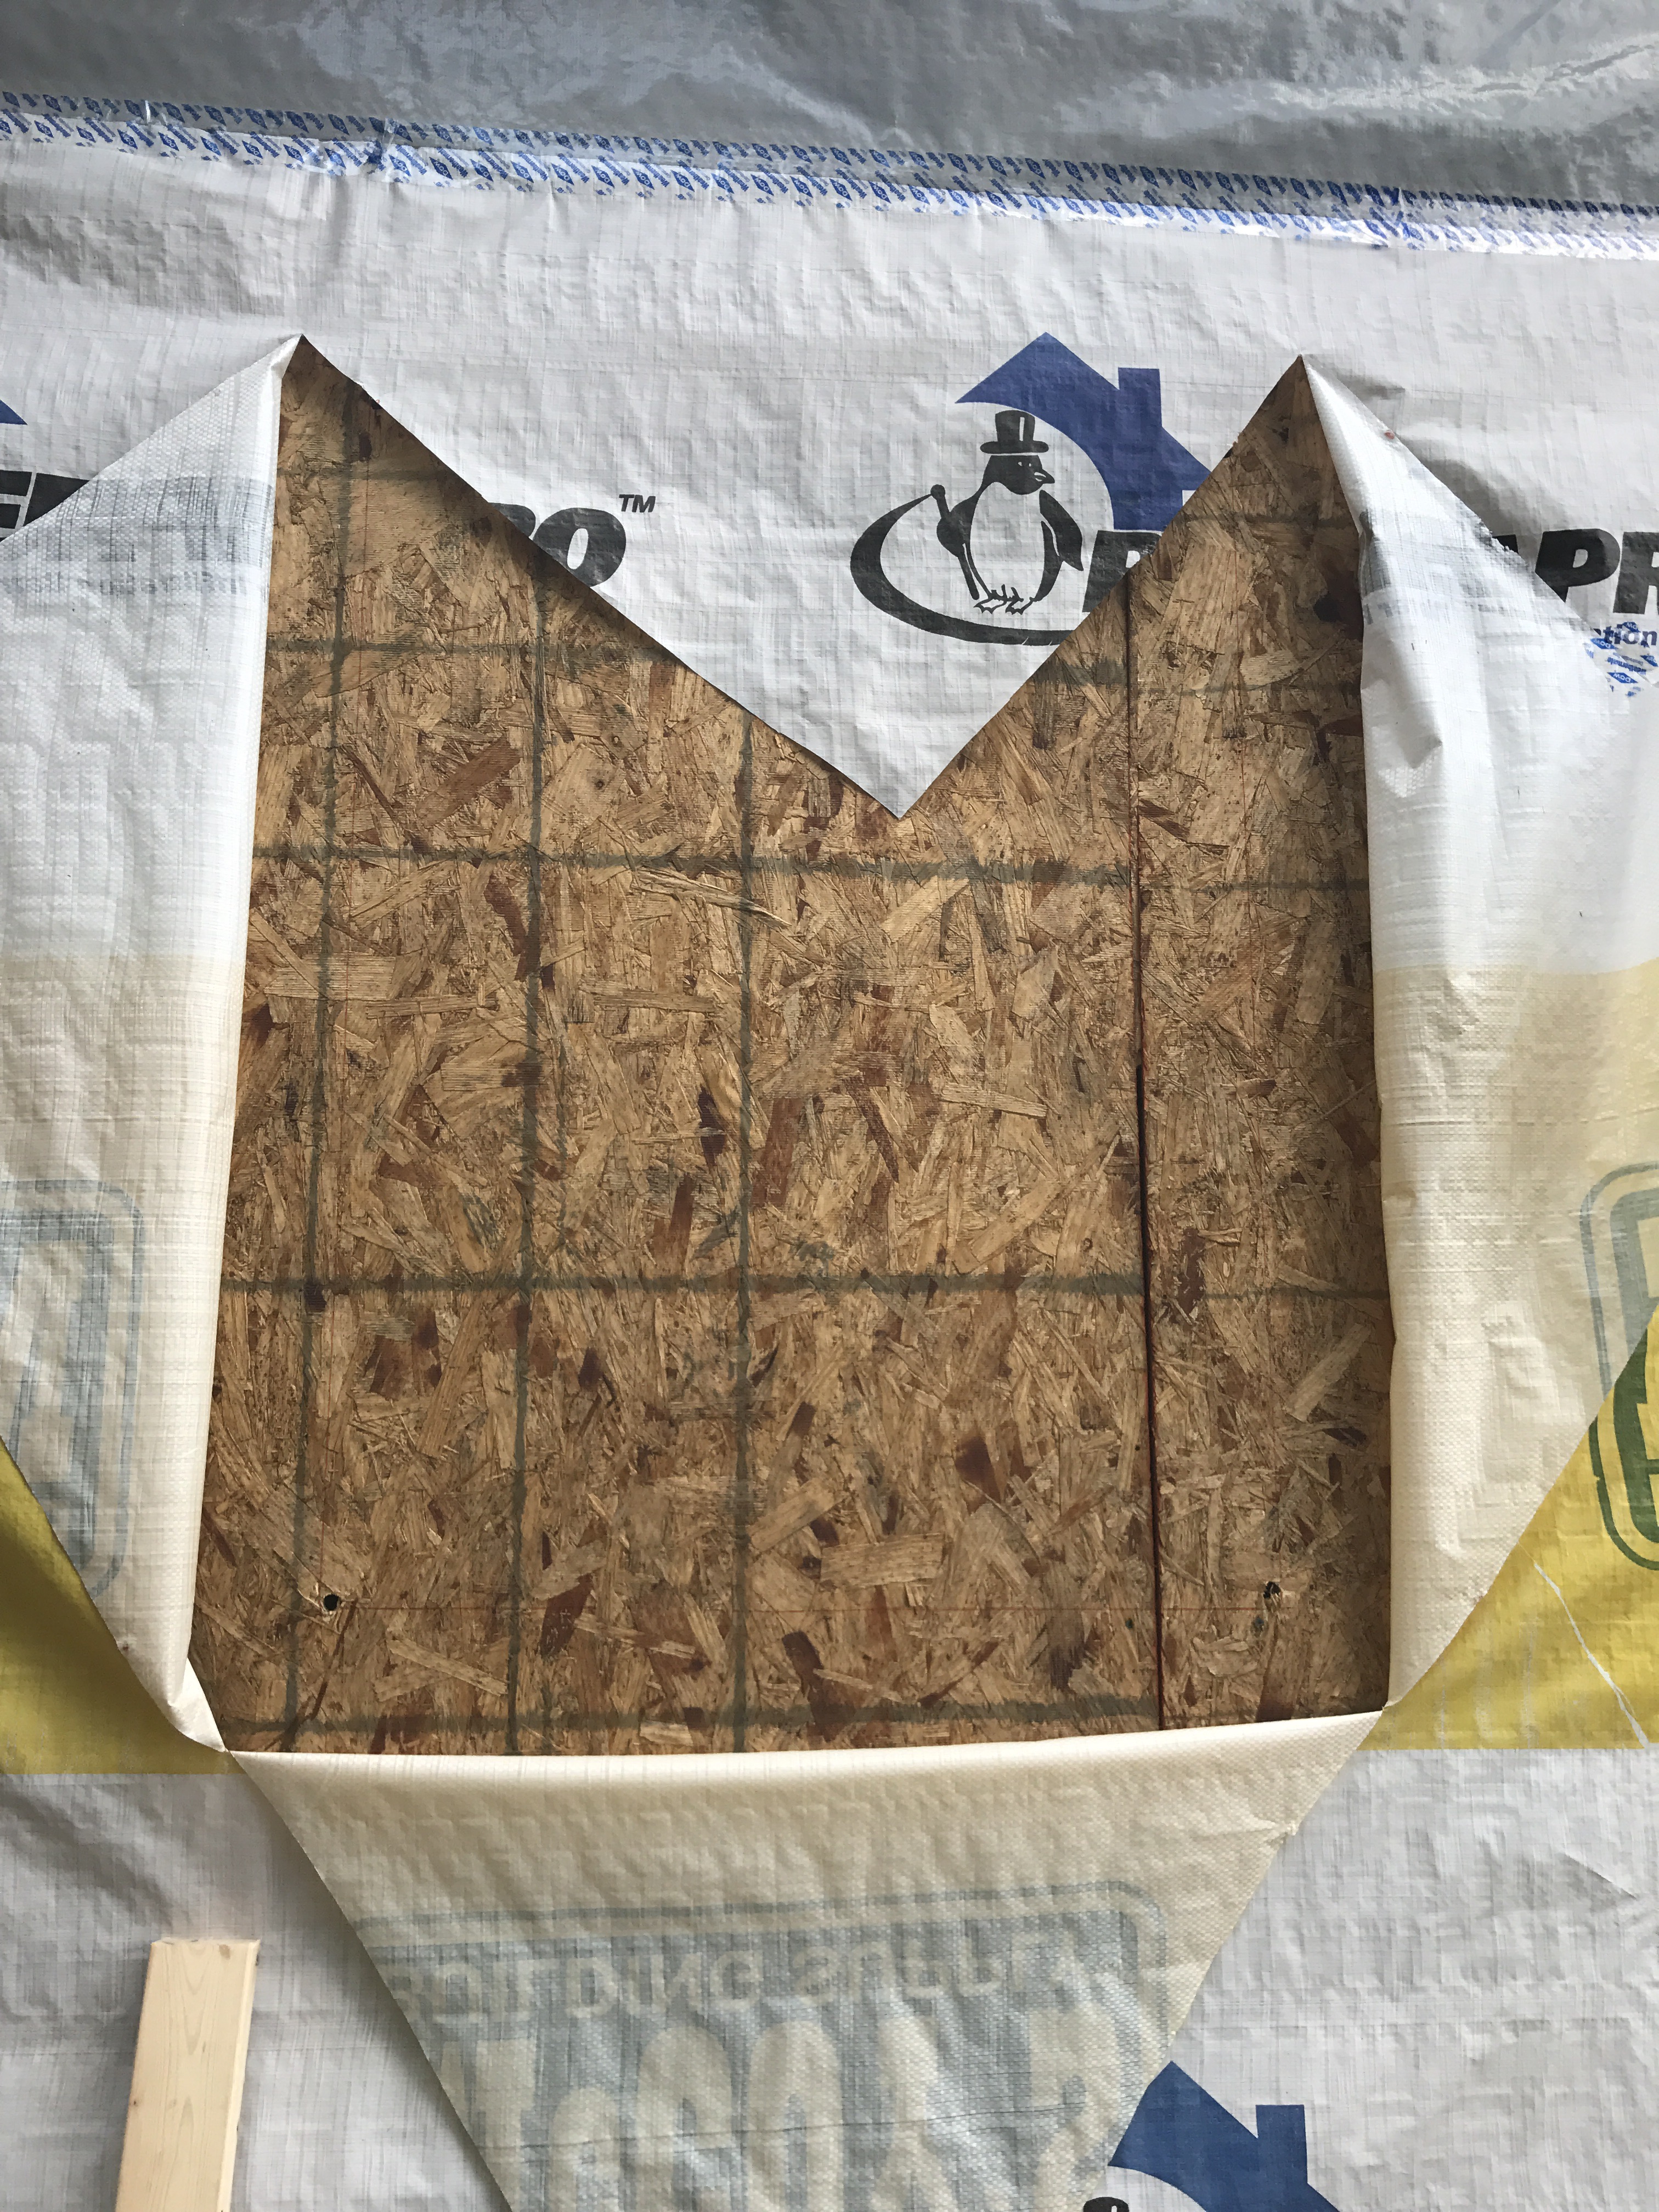
Then a cross is cut over the corners of the window opening and the wrap is peeled back.
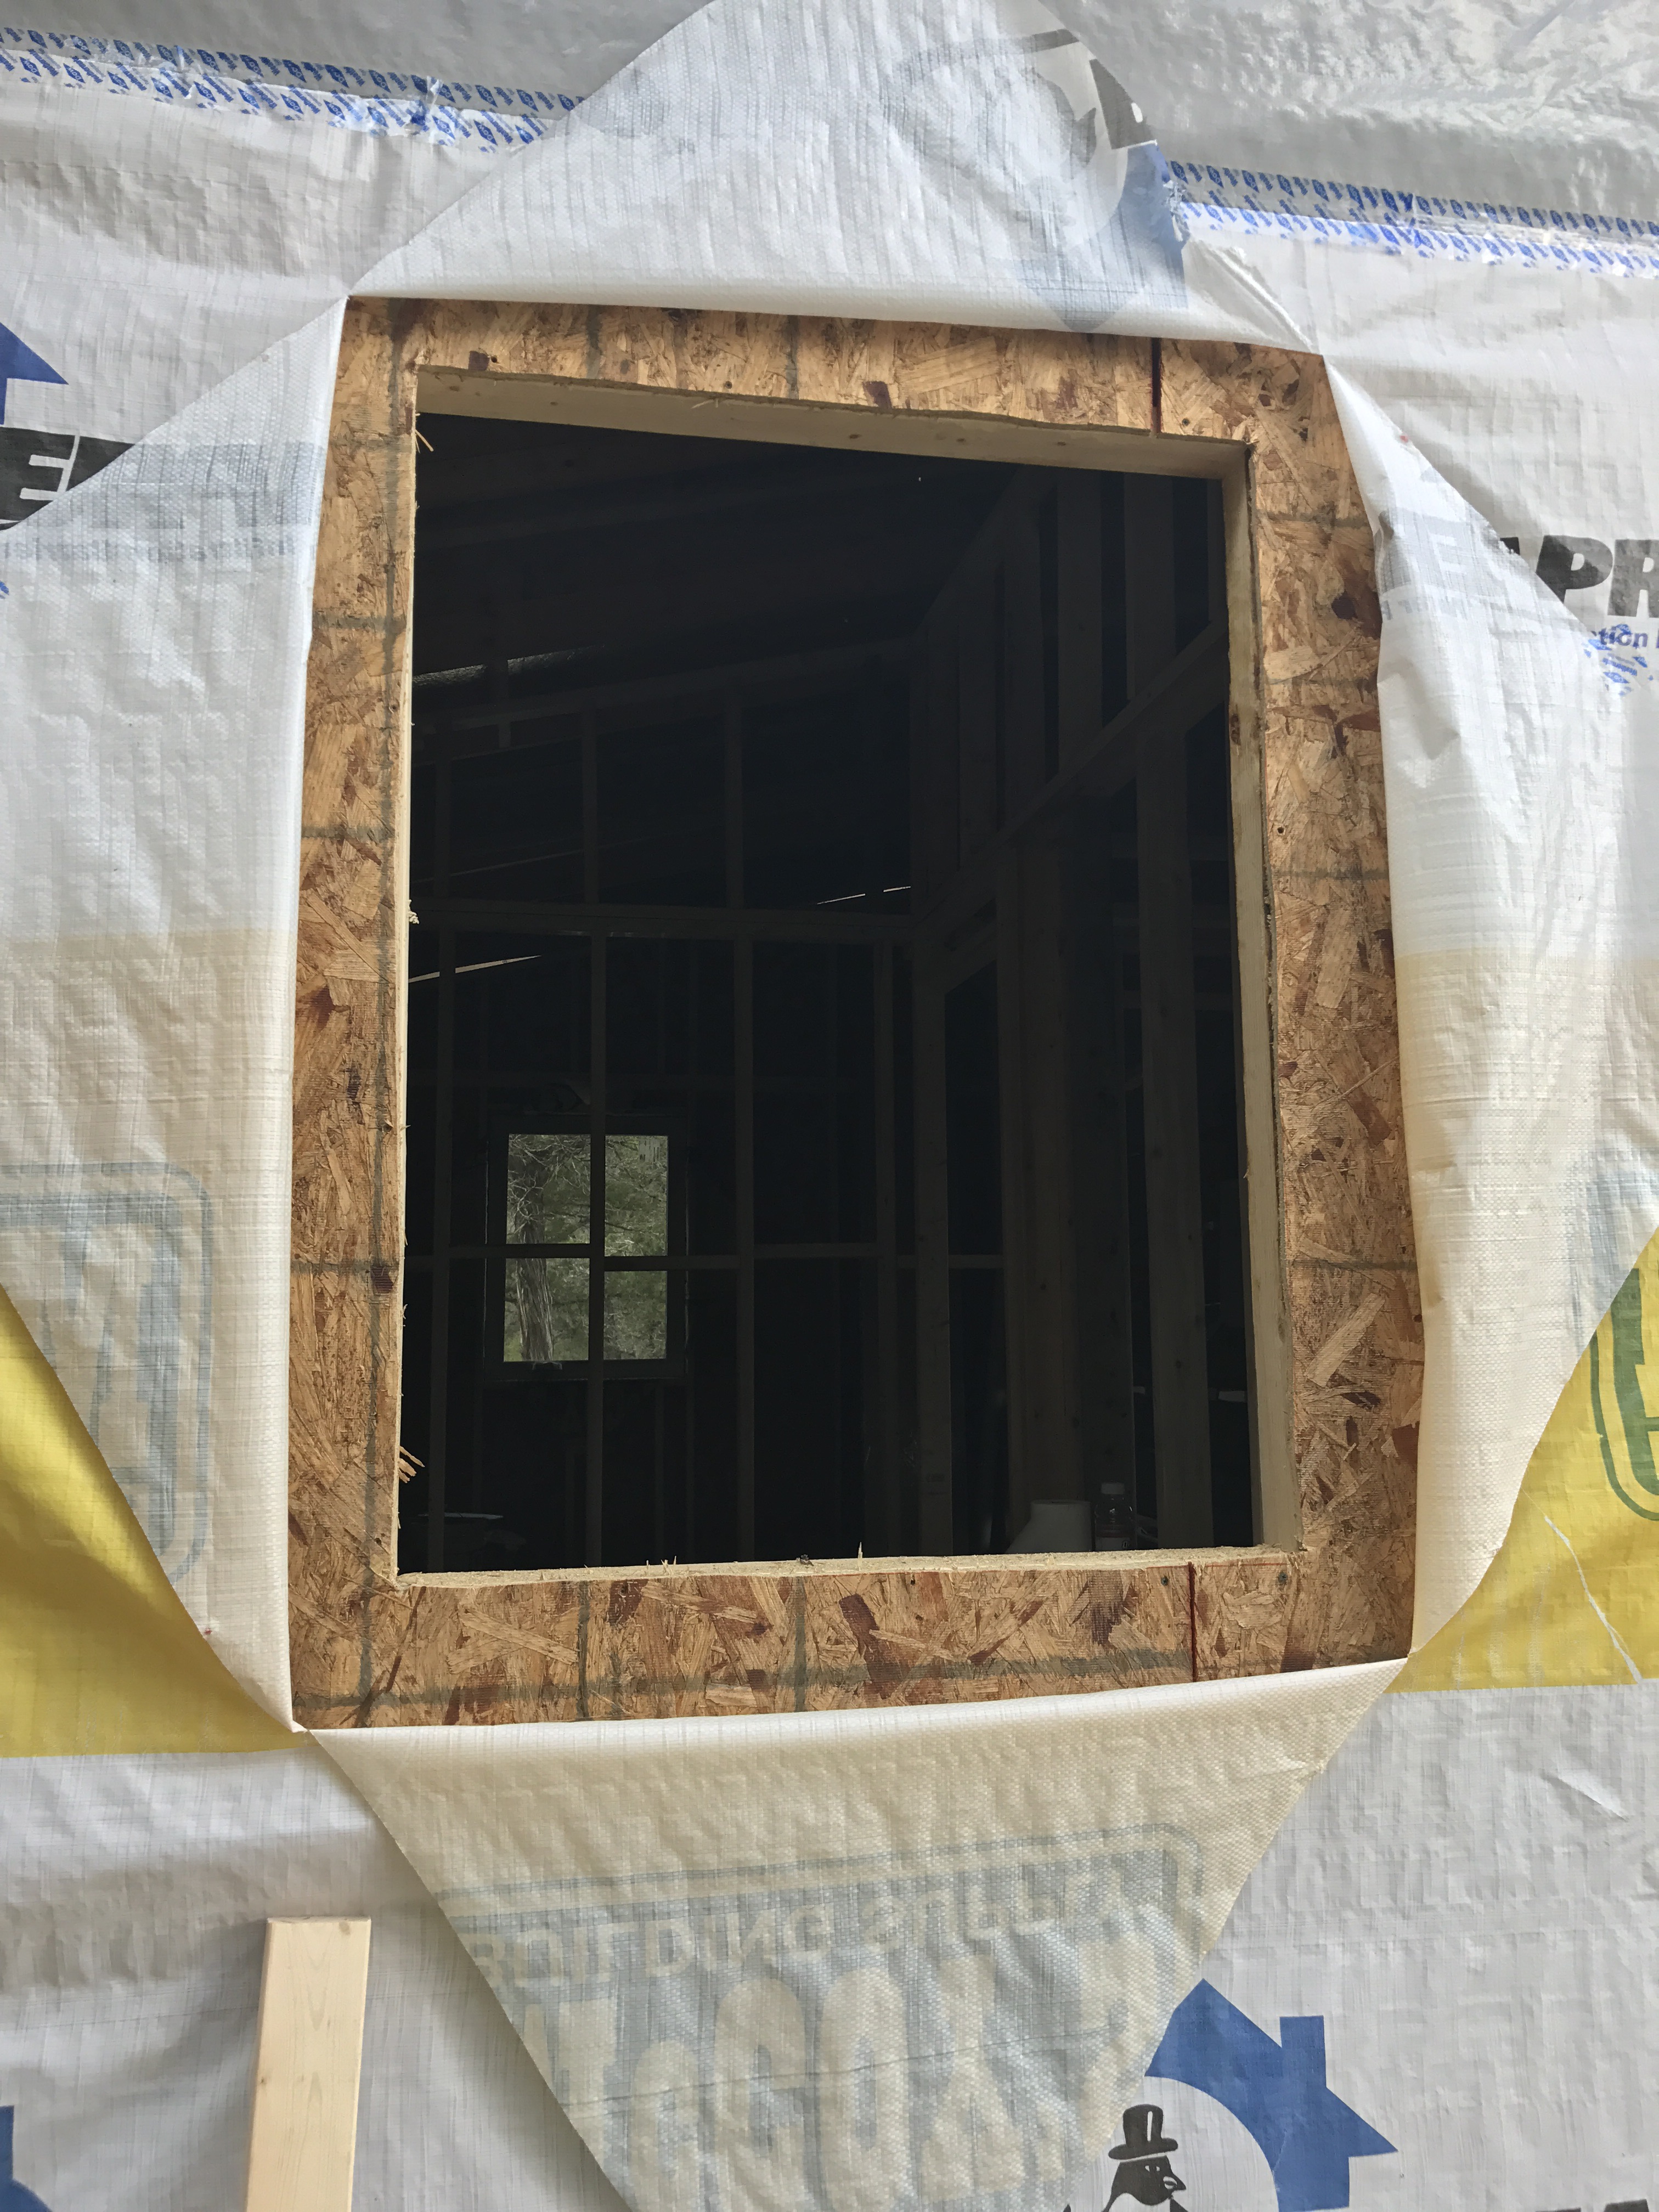
A hole is drilled in each corner and the OSB cut out.
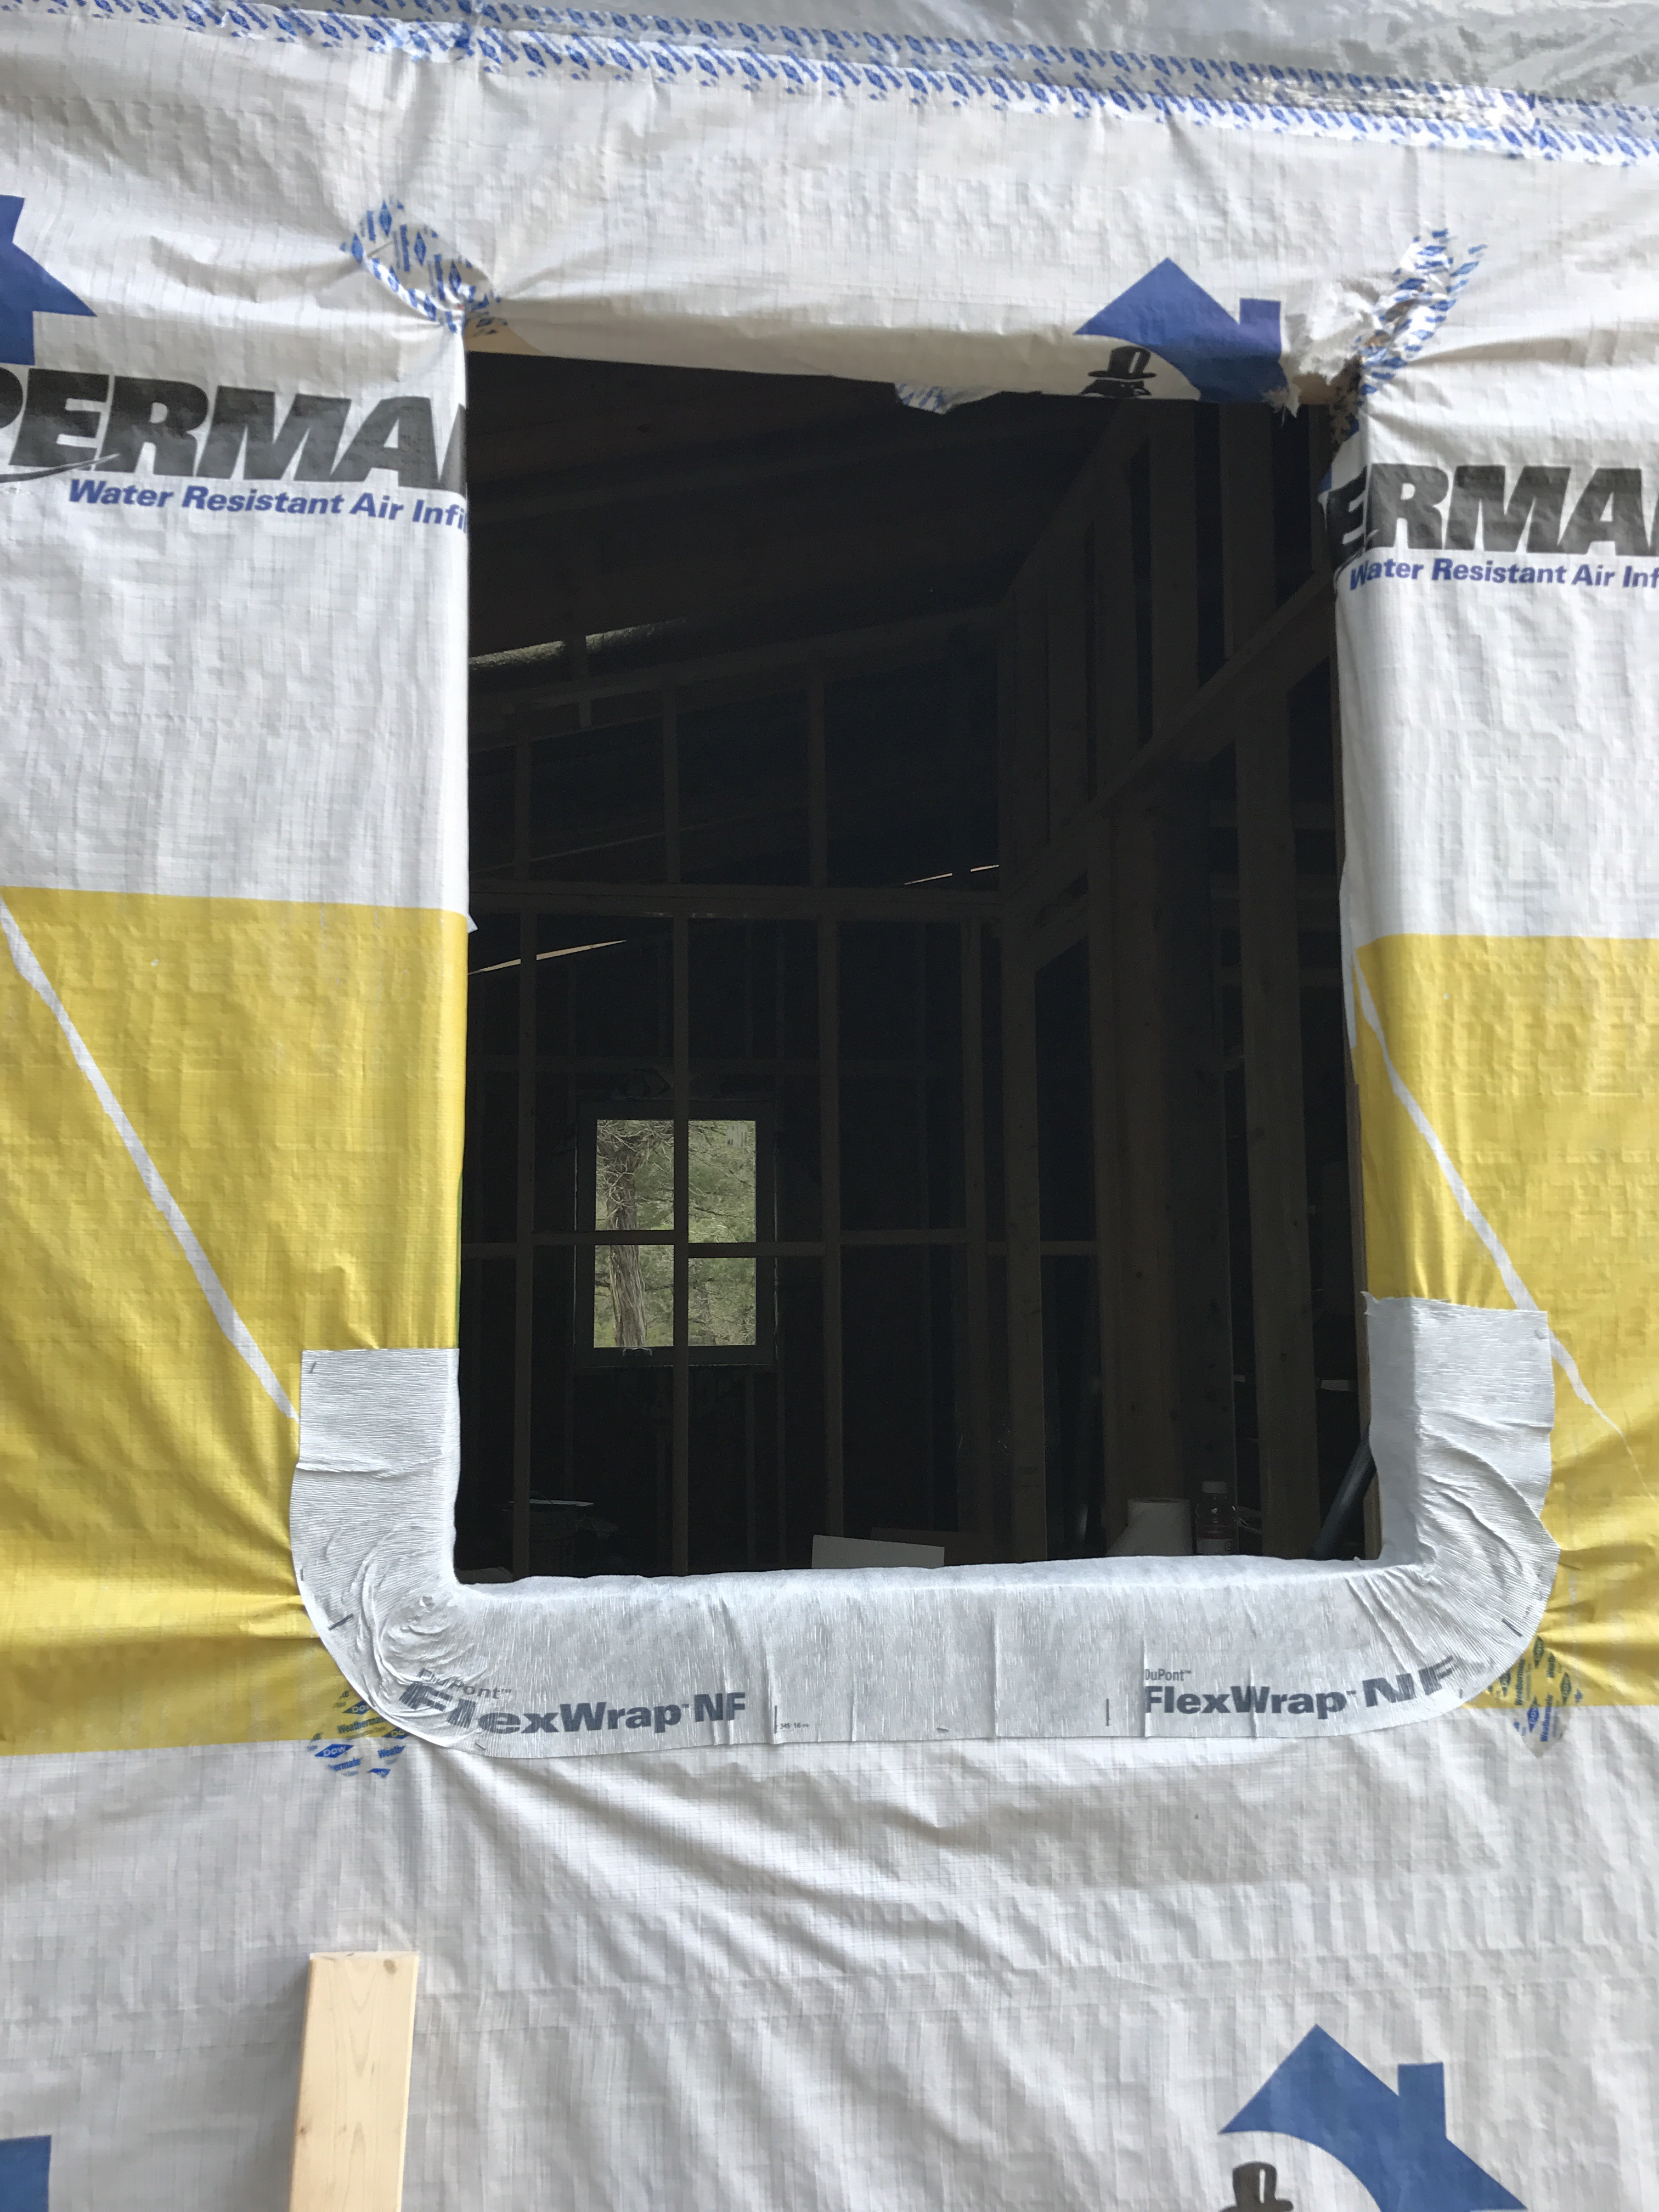
Then the wrap is pulled in and taped at the seems. On the bottom an expensive DuPont tape forms an extra barrier, as that is the most sensitive spot of the window regarding leakage.
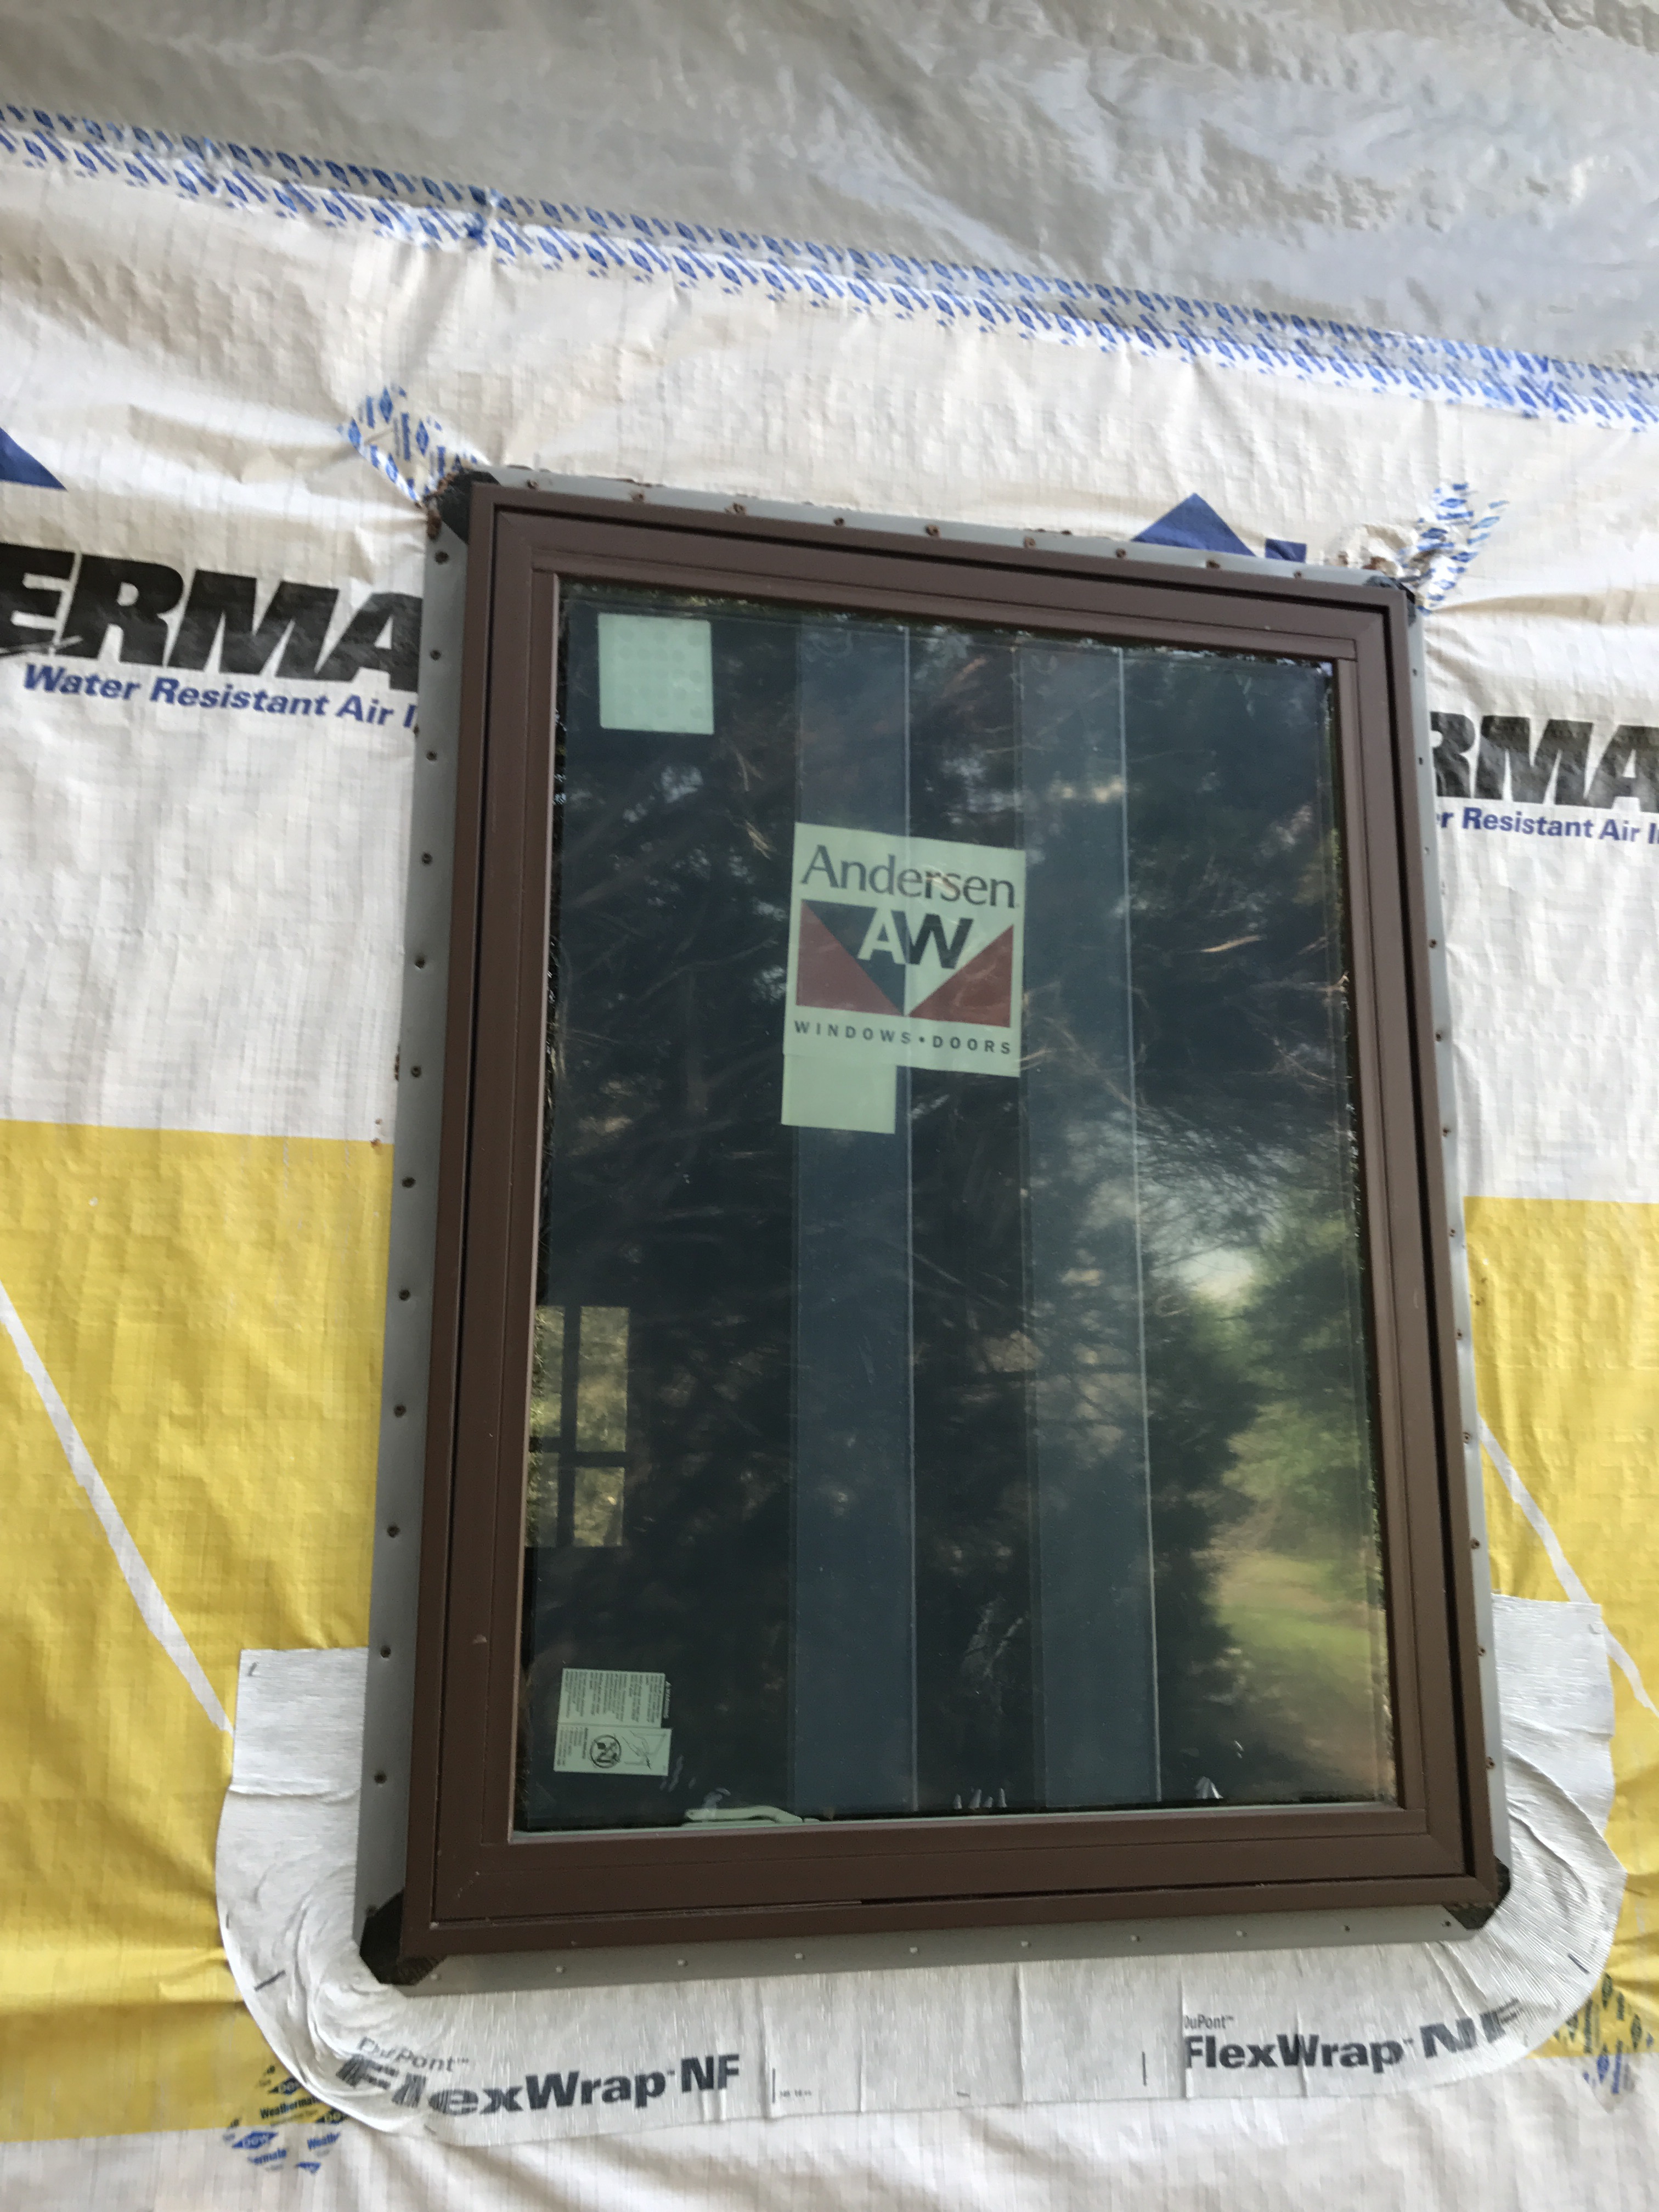
The sides and top are sealed with a caulk, and the window is placed and screwed to the wall every 4 inches
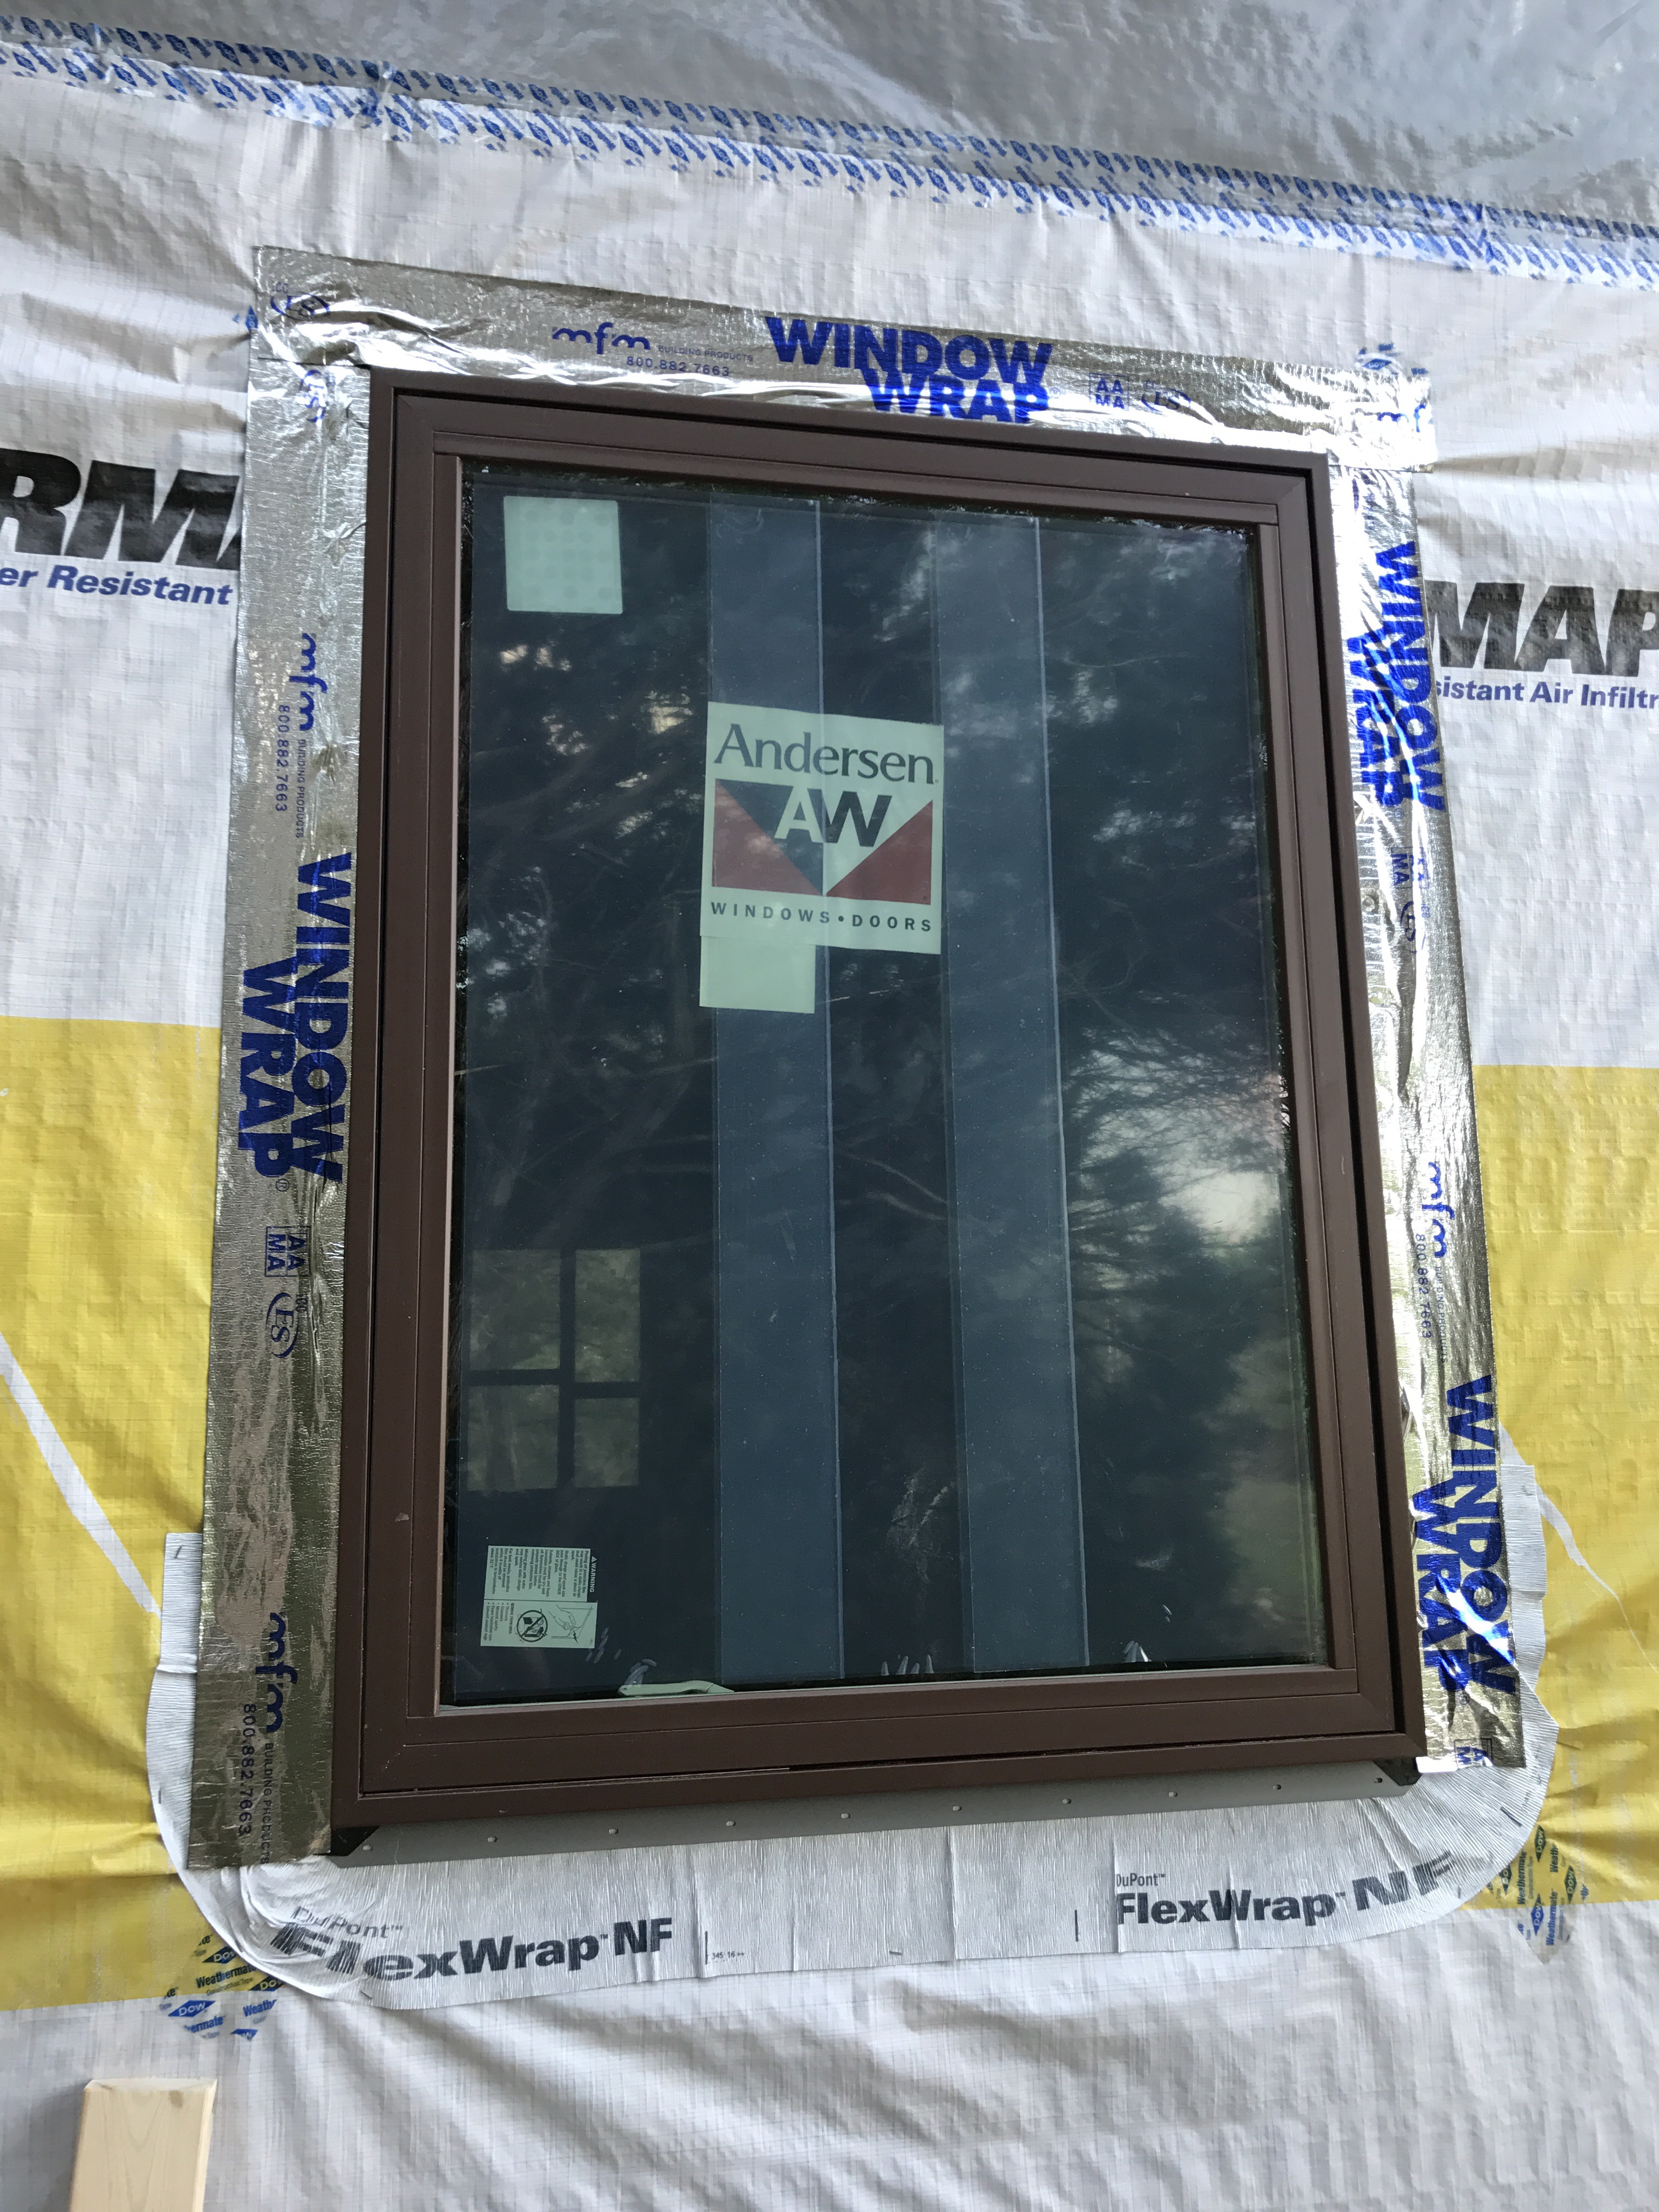
Then a final protective tape is placed on the sides and top. Not on the bottom, as any moist should be able to exit there.
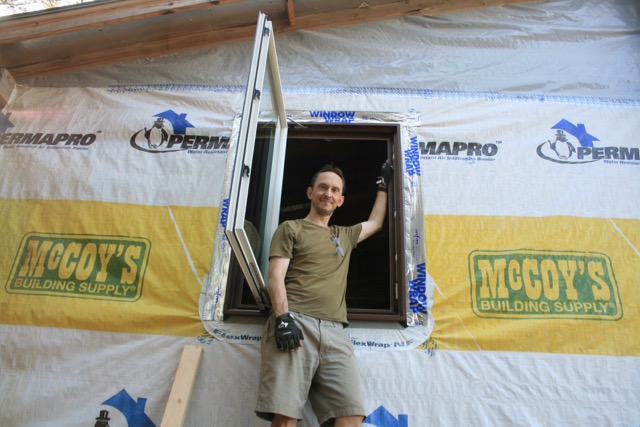
Then the window is ready for use. The wrap and tape will be covered by cedar siding
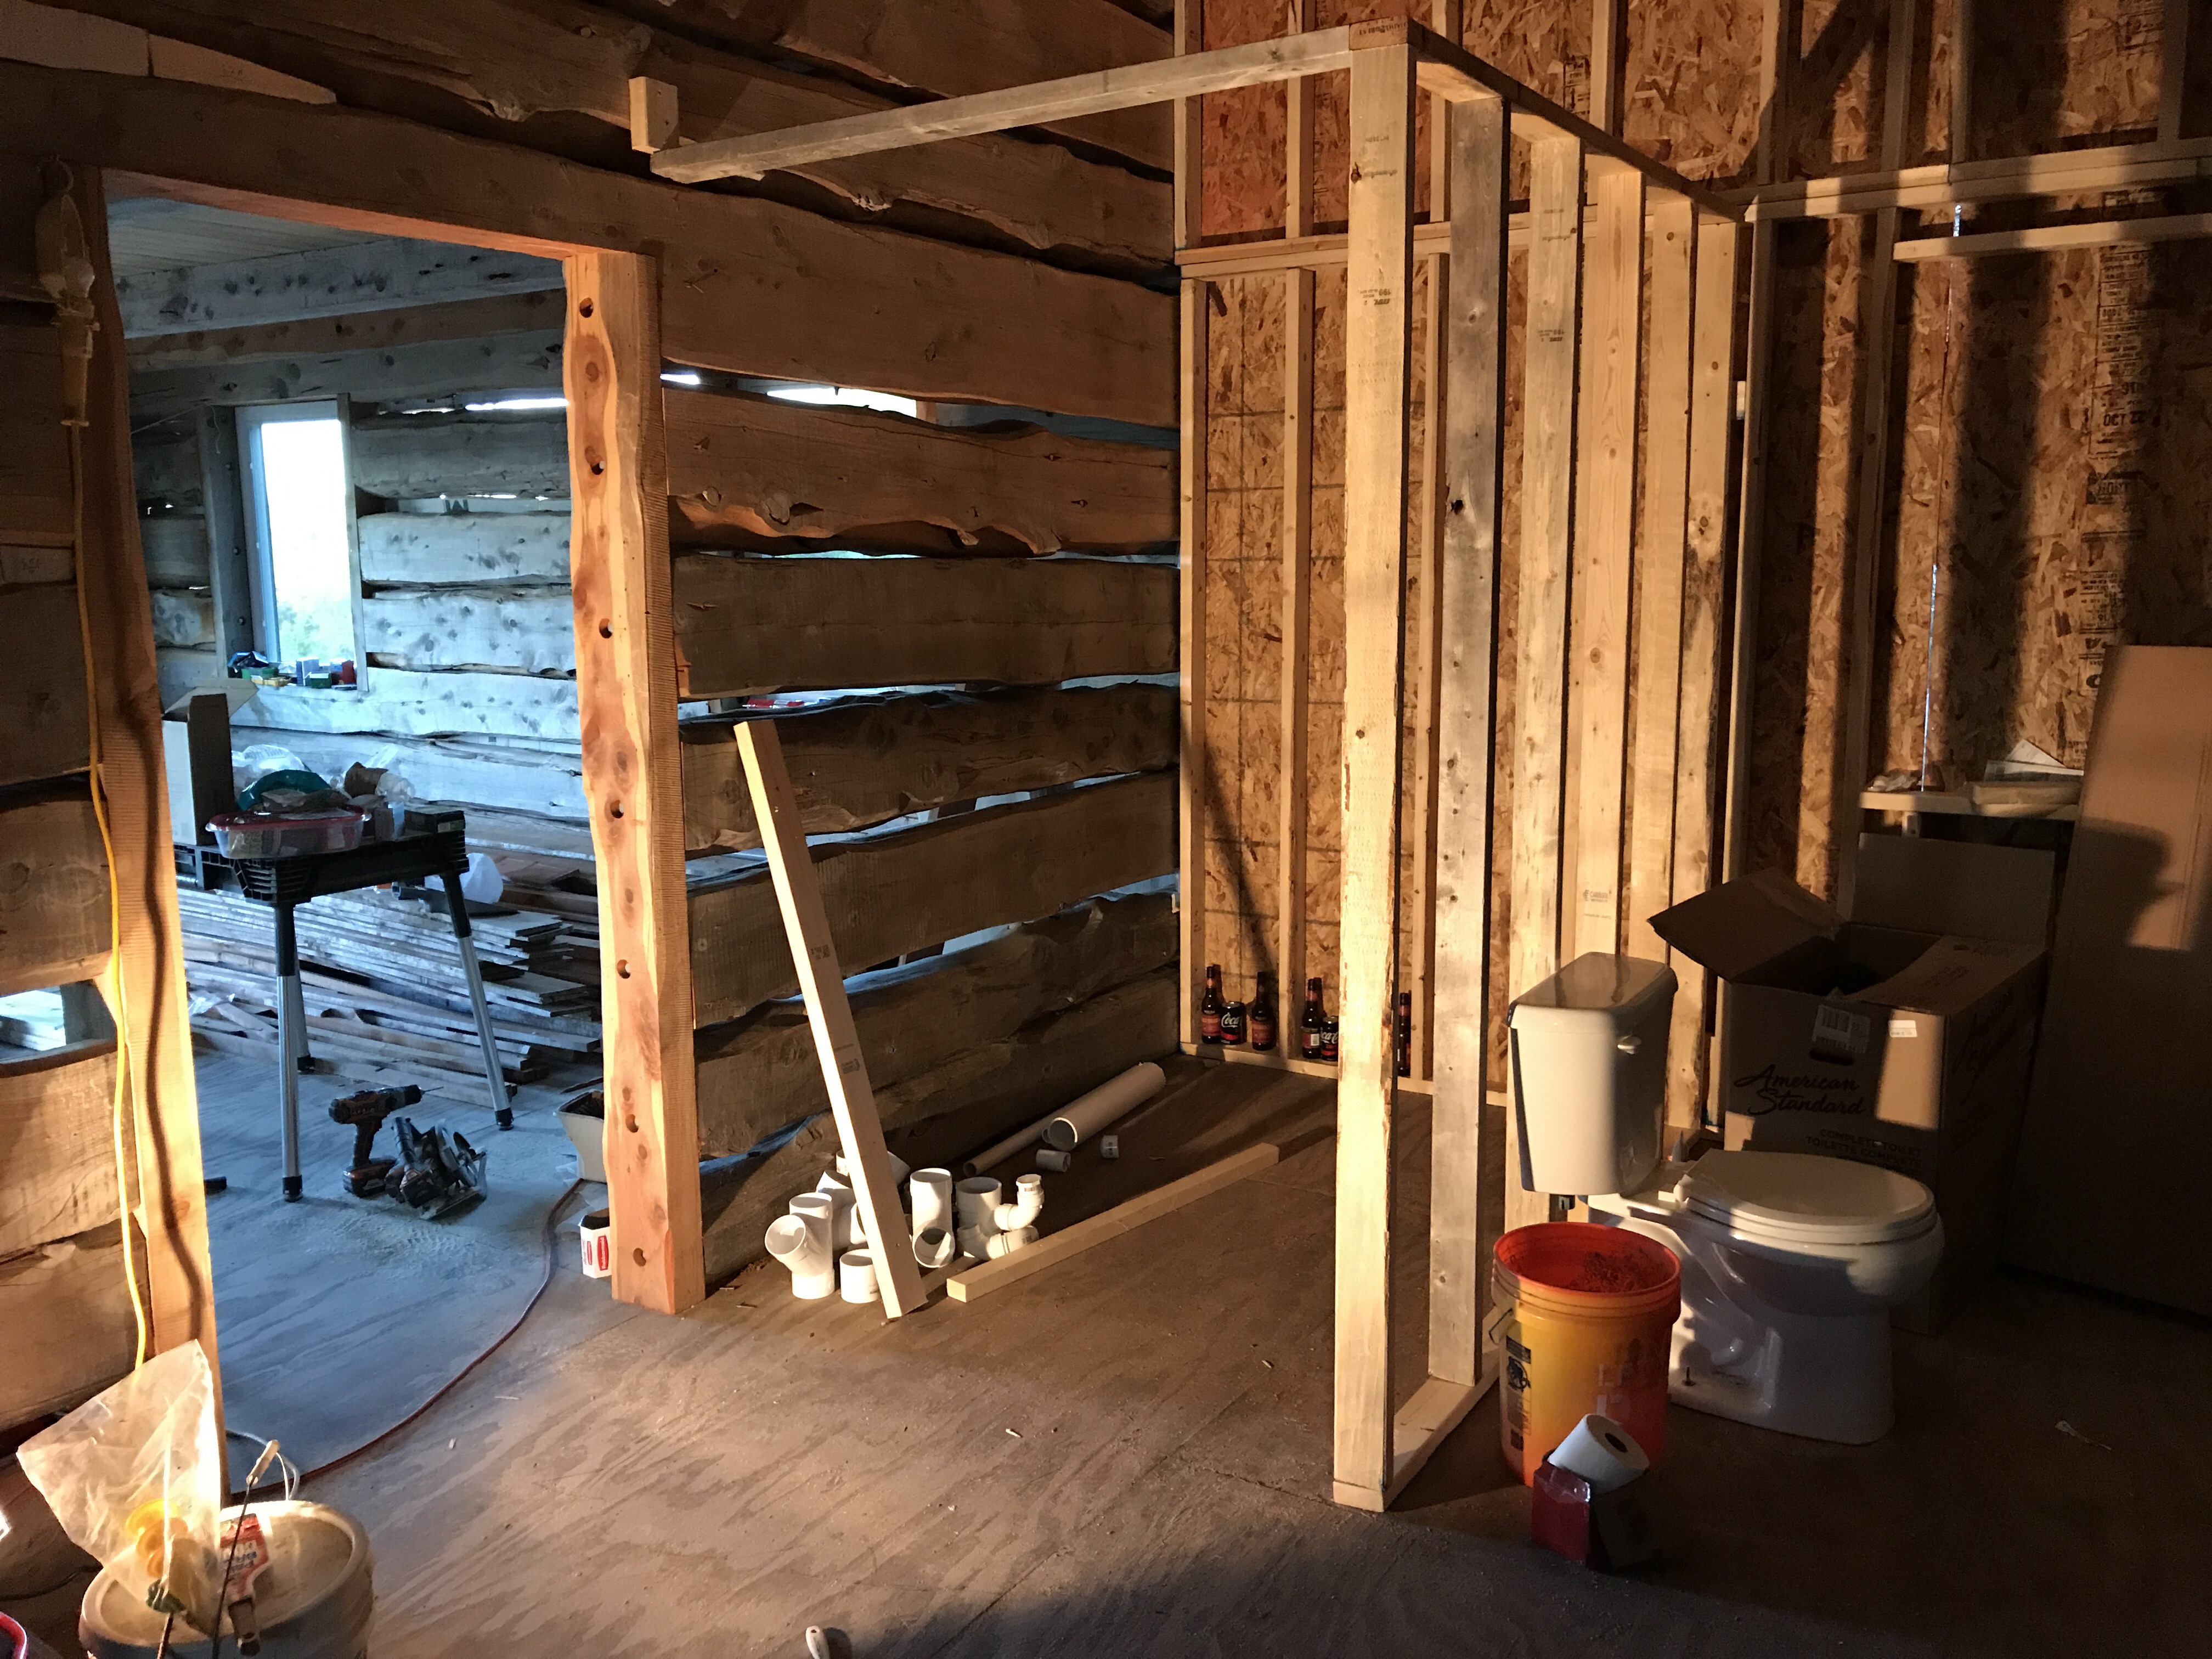
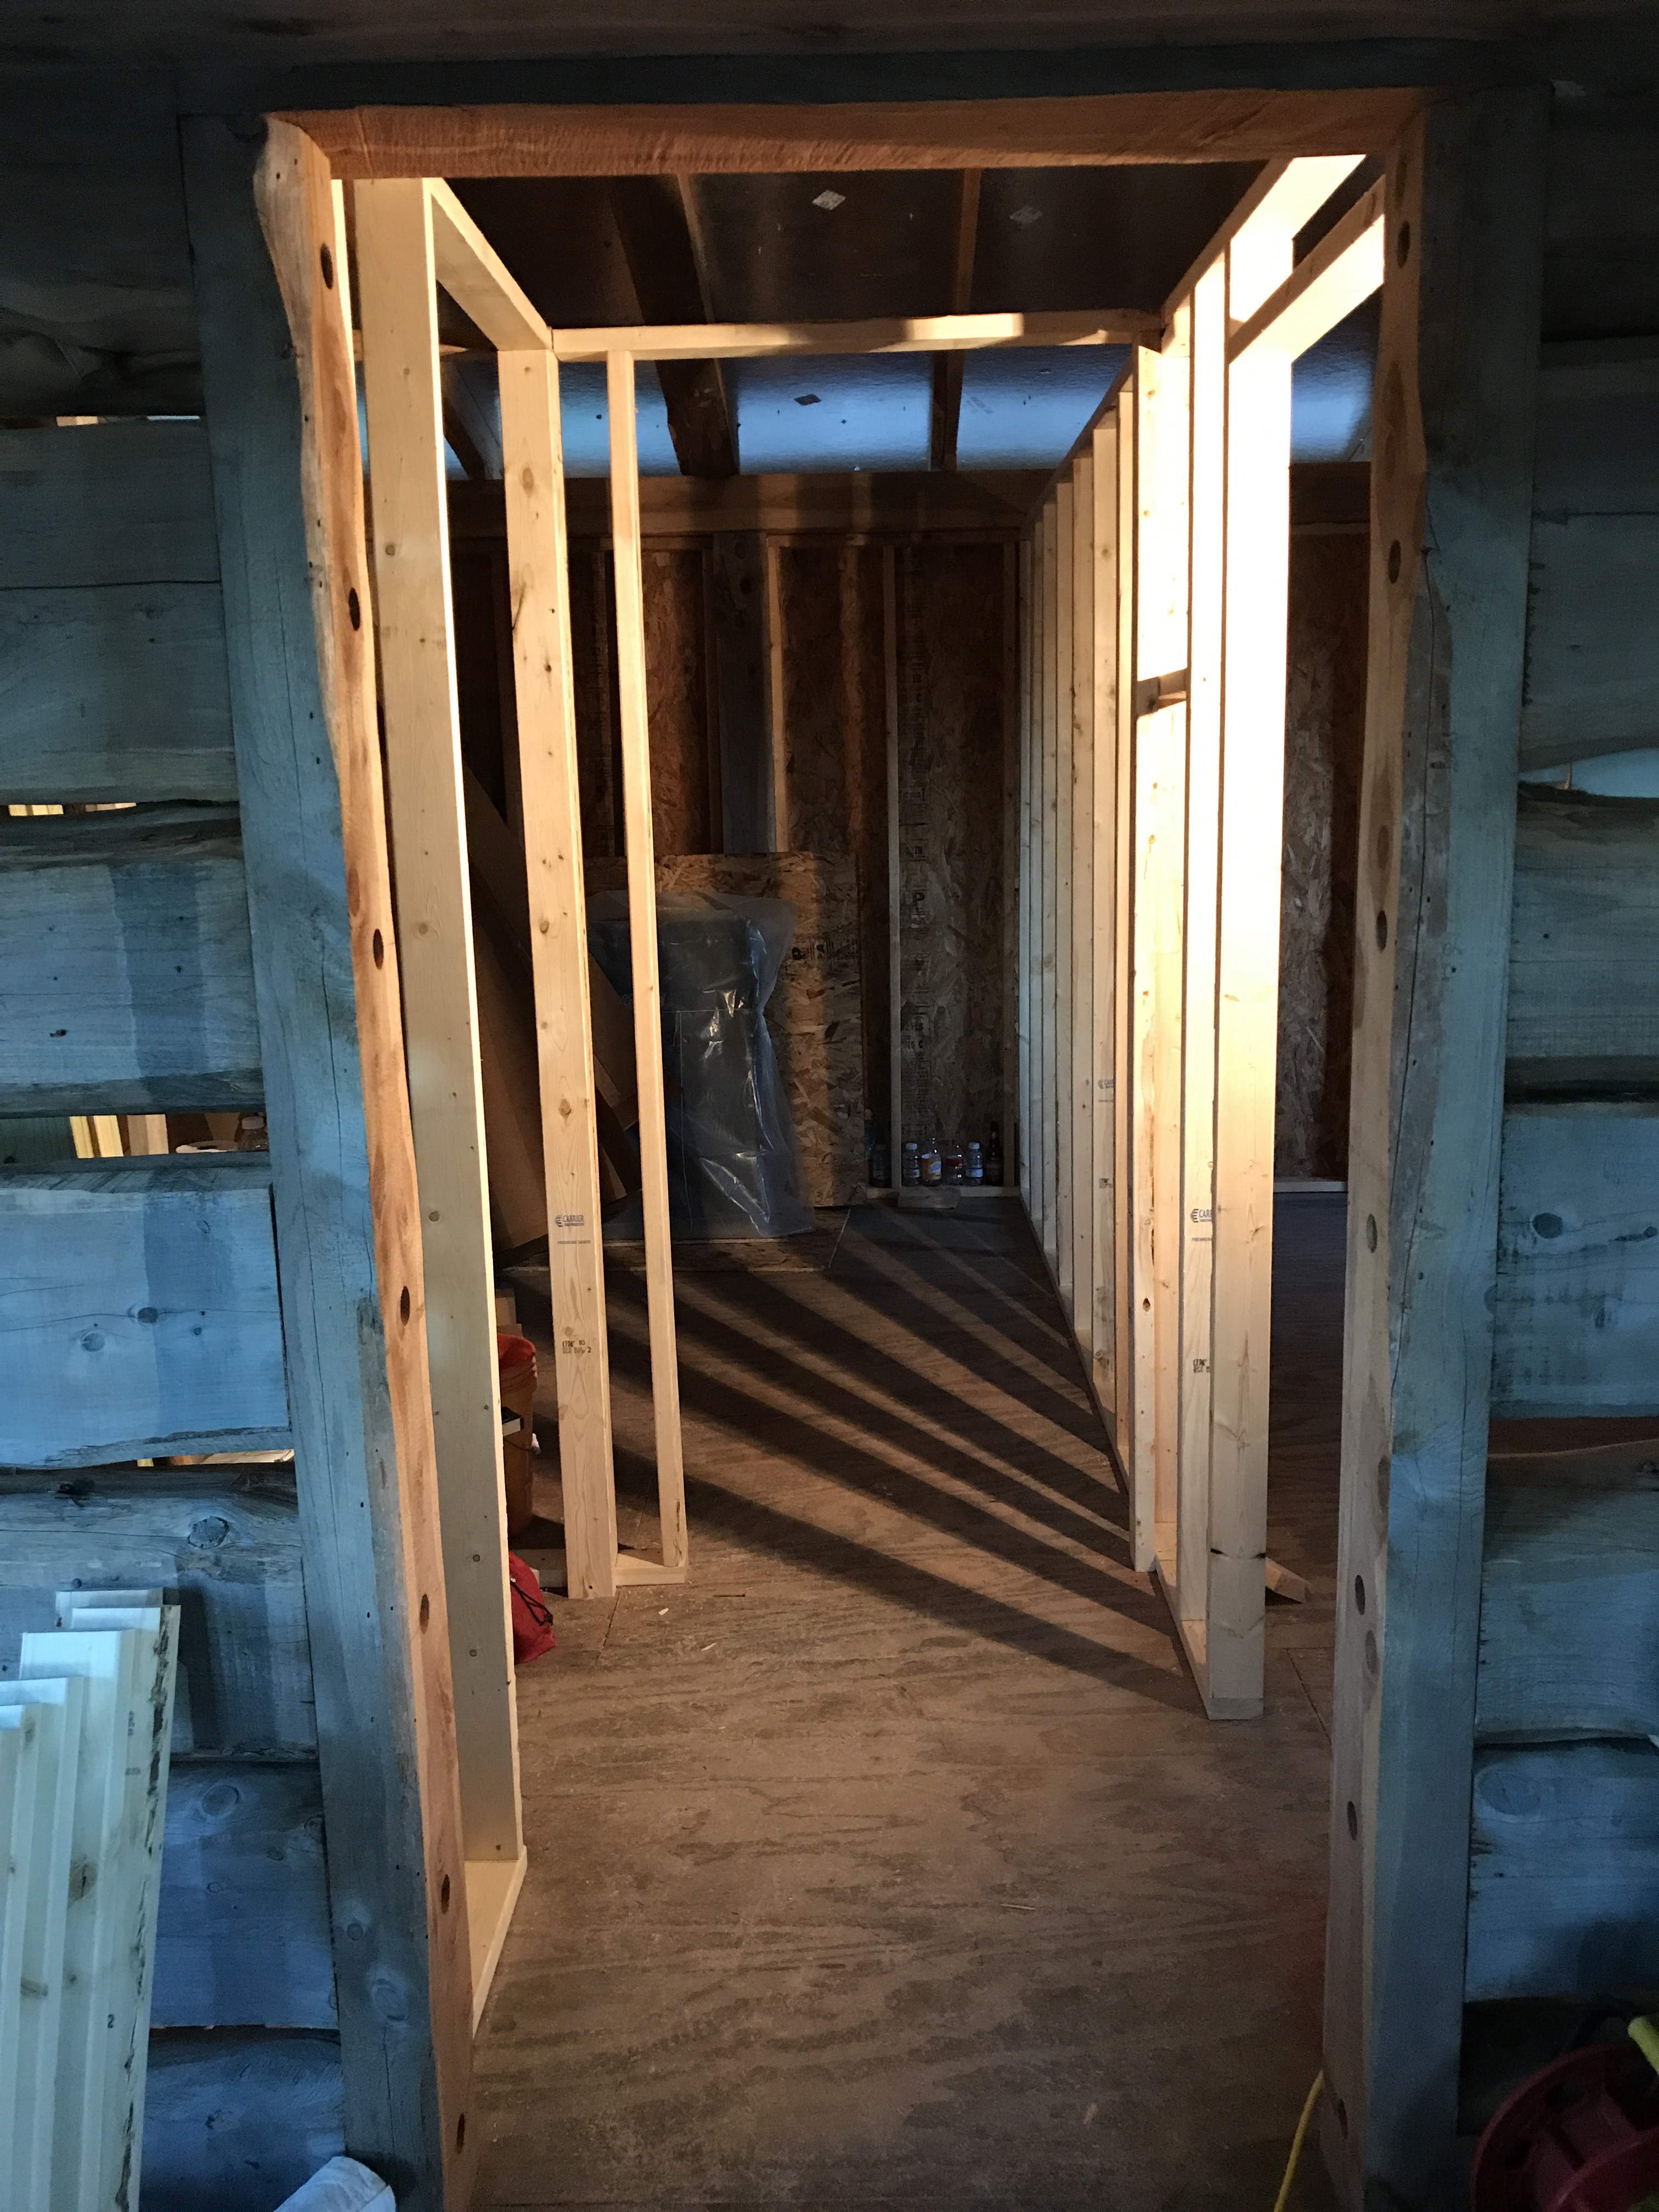 Above is the view from the great room into the extension; it’s a small hallway with 3 doors (coming soon) leading to the technical room on the left, bathroom straight ahead and master bedroom on the right.
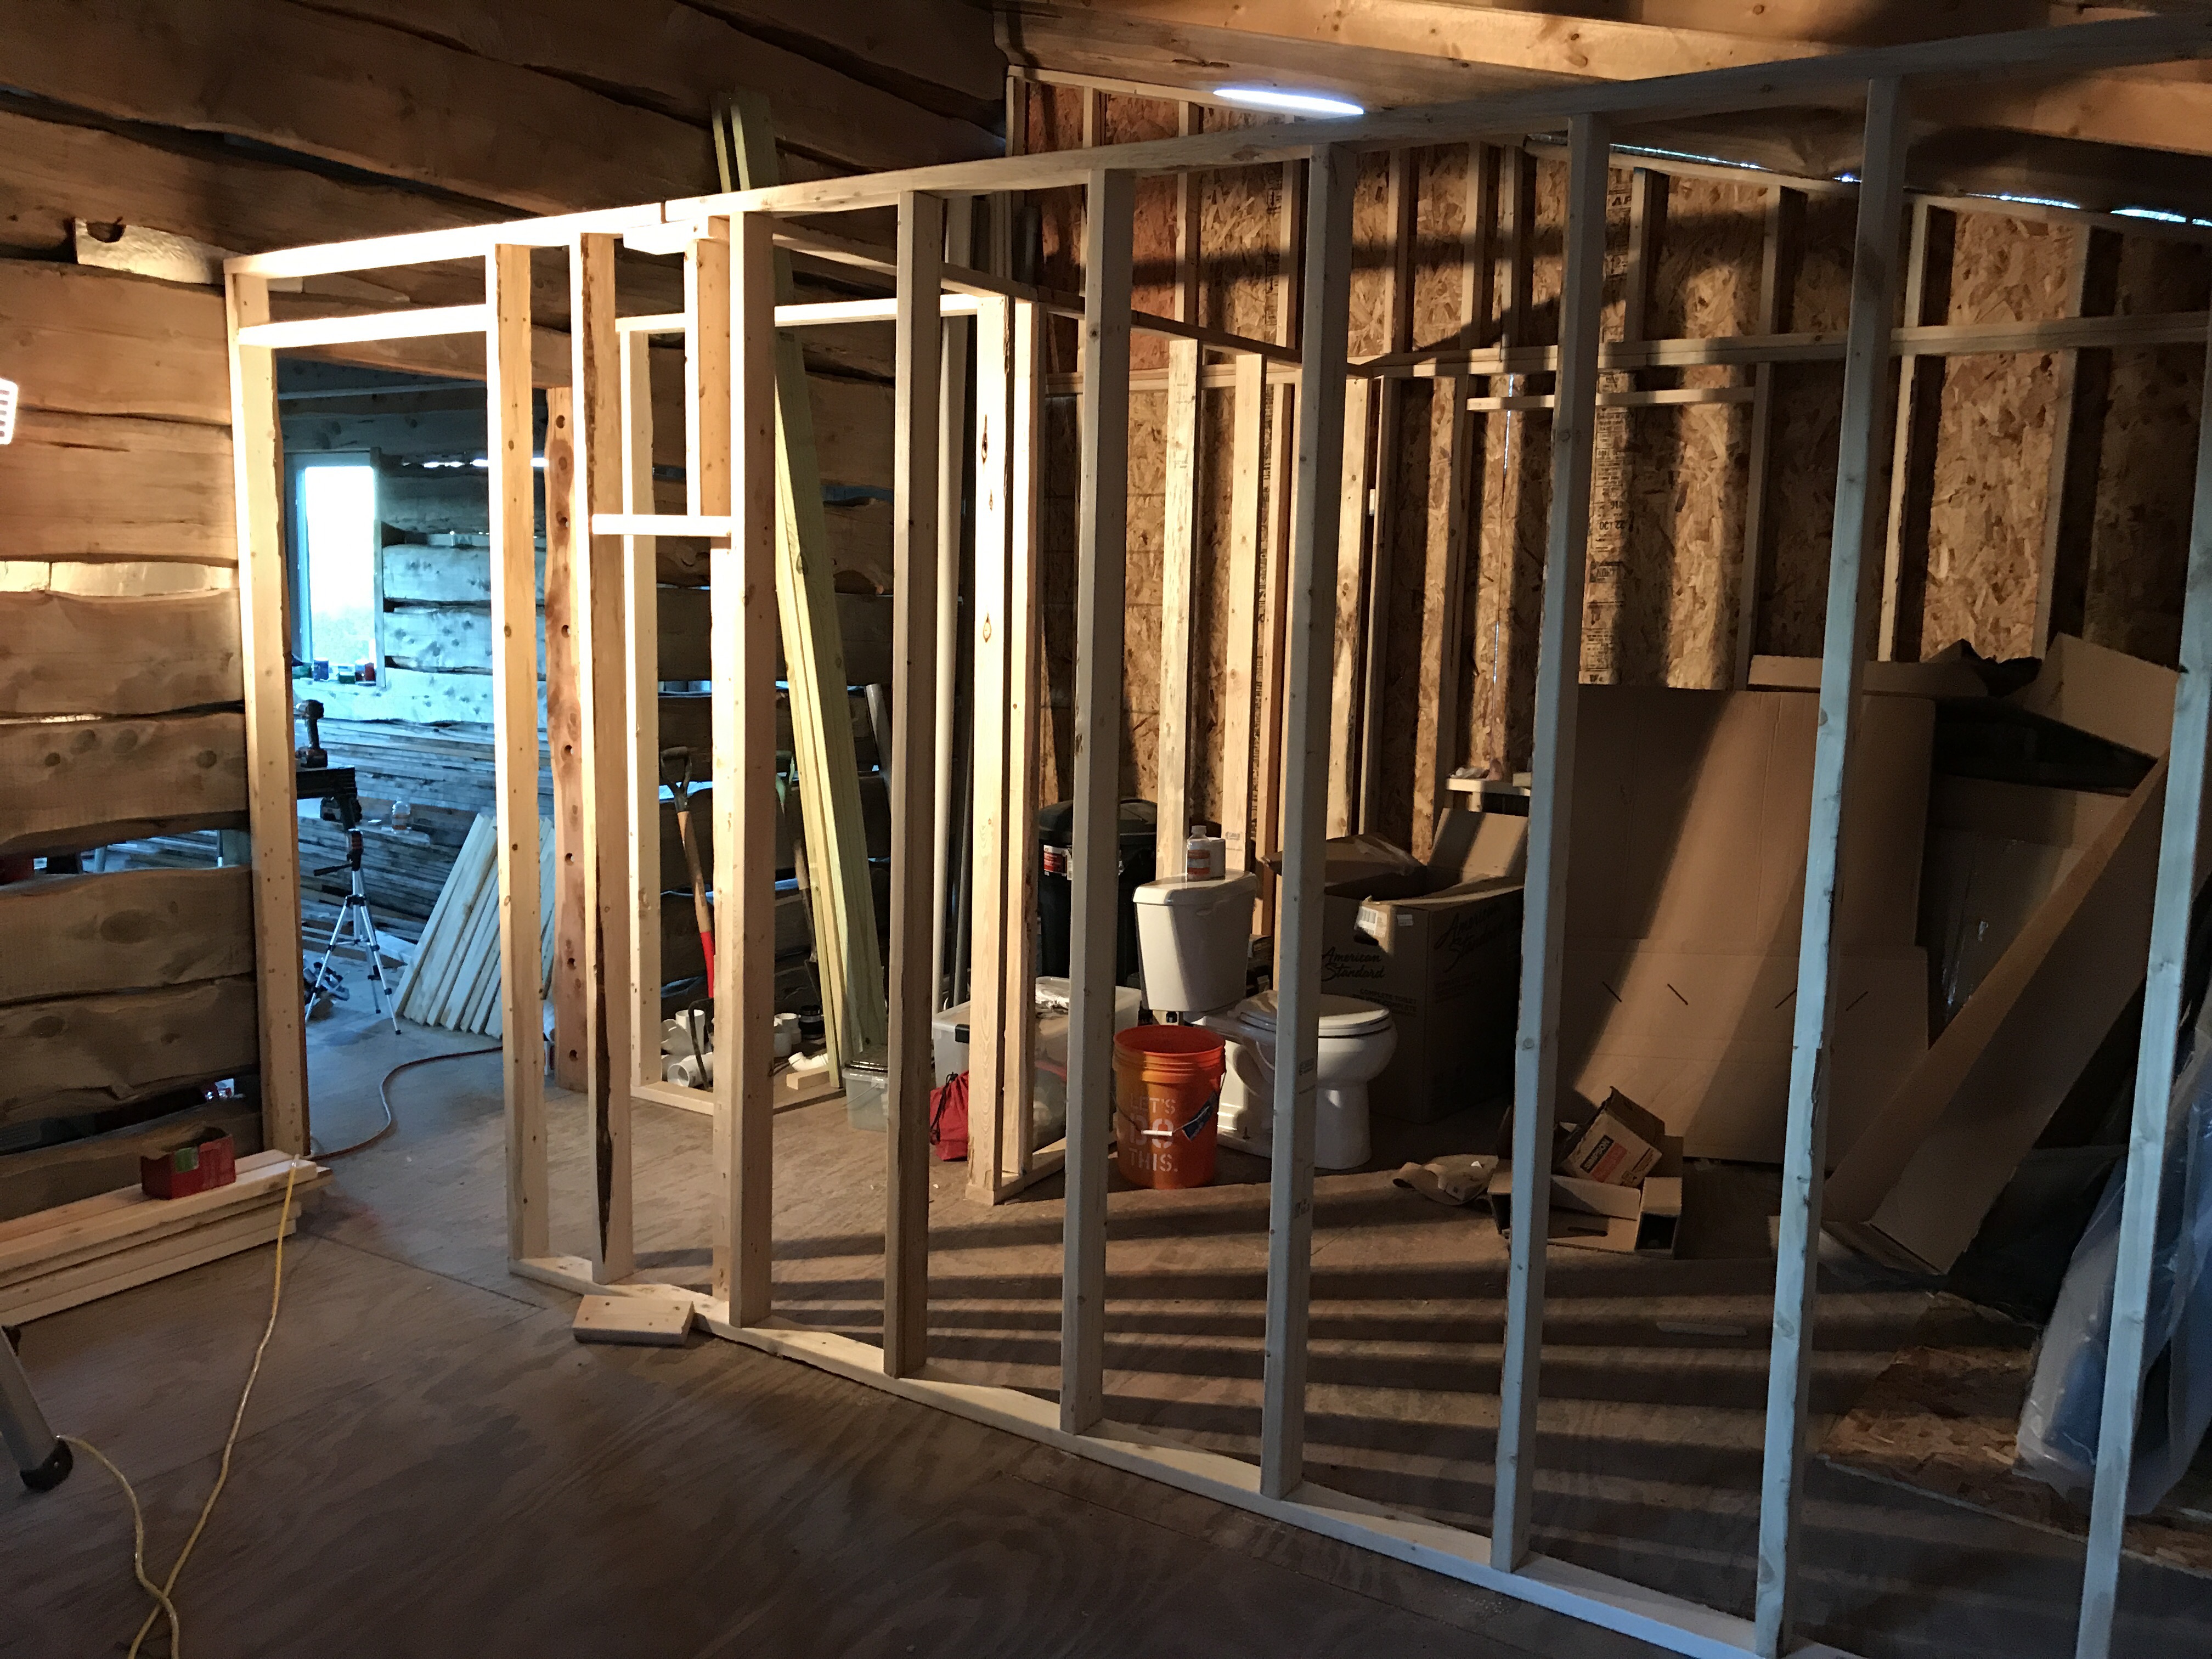
Above is taken from the bedroom to the hallway and below from the messy bathroom
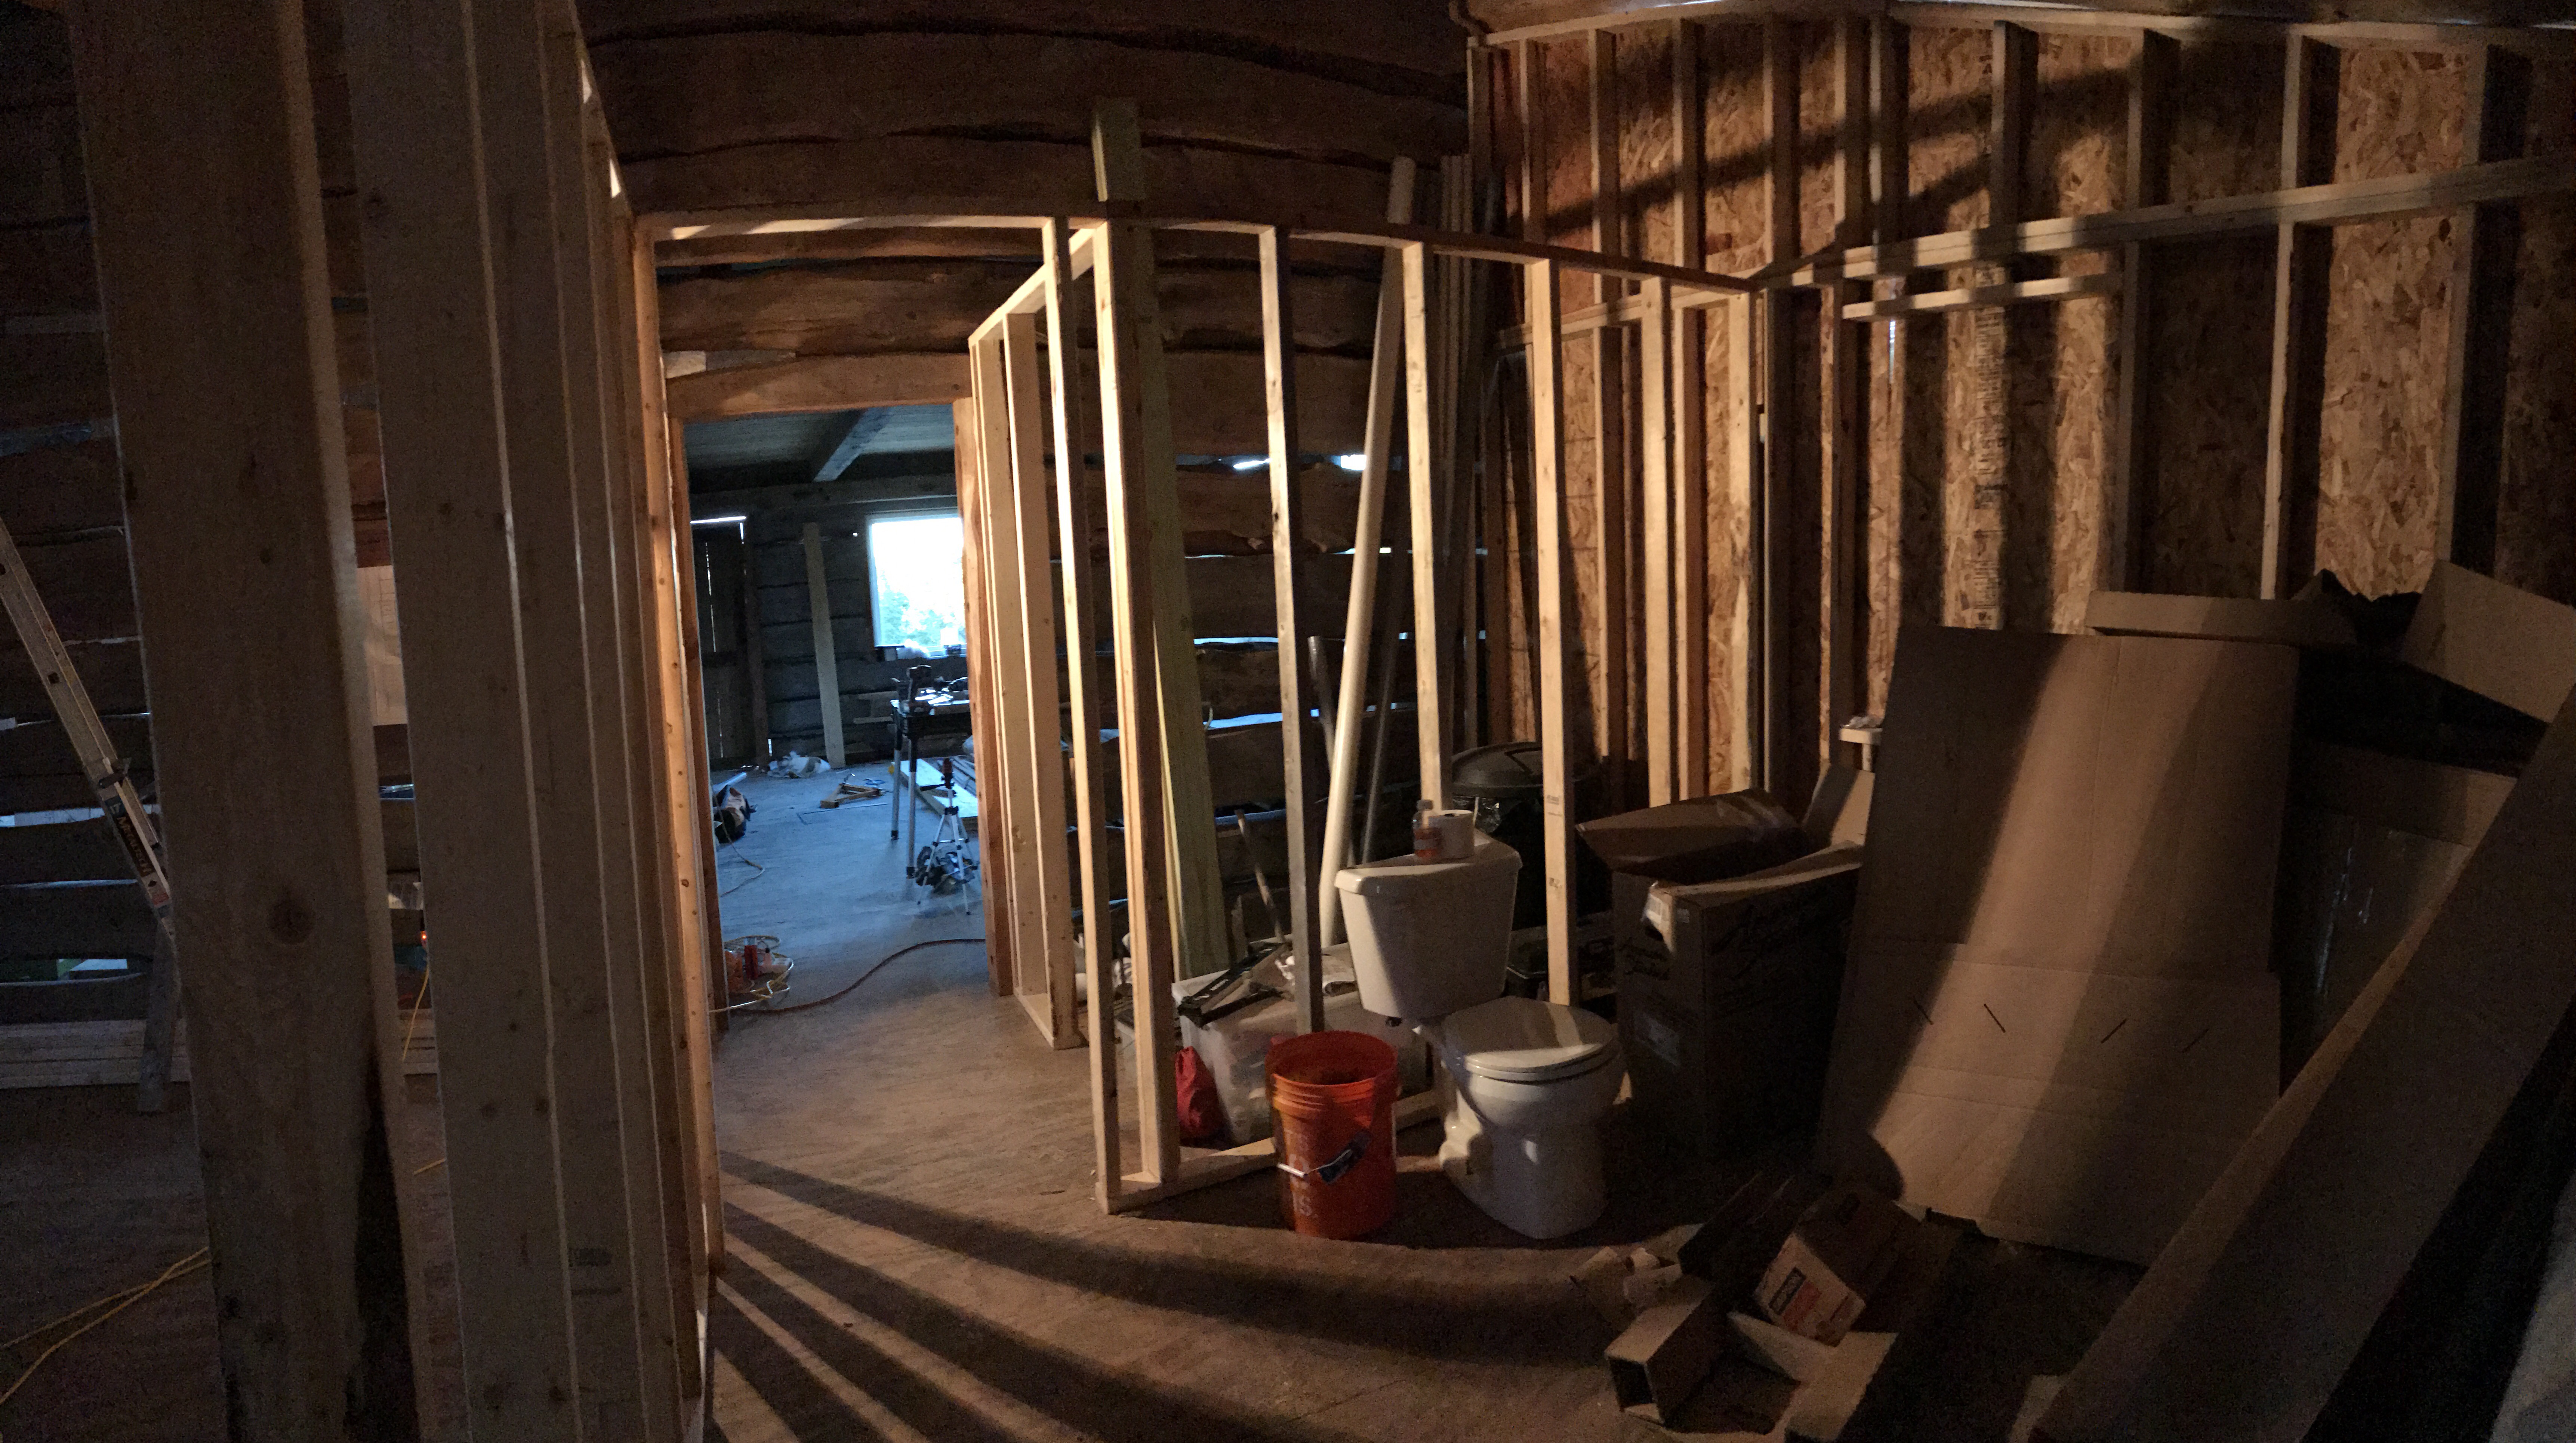
A lot of houses here have no stronger walls than the 2×4 stick frames making these inner walls. The log walls are 8″ thick and together likely weigh more than a stick frame house 5 times the size. That’s why with a major storm/tornado, so many houses are completely destroyed. Mind you, I wouldn’t want to test if my log walls would still stand after a tornado. But it’s not likely to happen as tornadoes are rare in this area.
Everyone knows I like beer. And like most places, Texas has its fair share of micro breweries. This one I bought because if the nane; am I right or Amarillo. As the labels states; to celebrate the arrival of this brand to Texas. Cheers!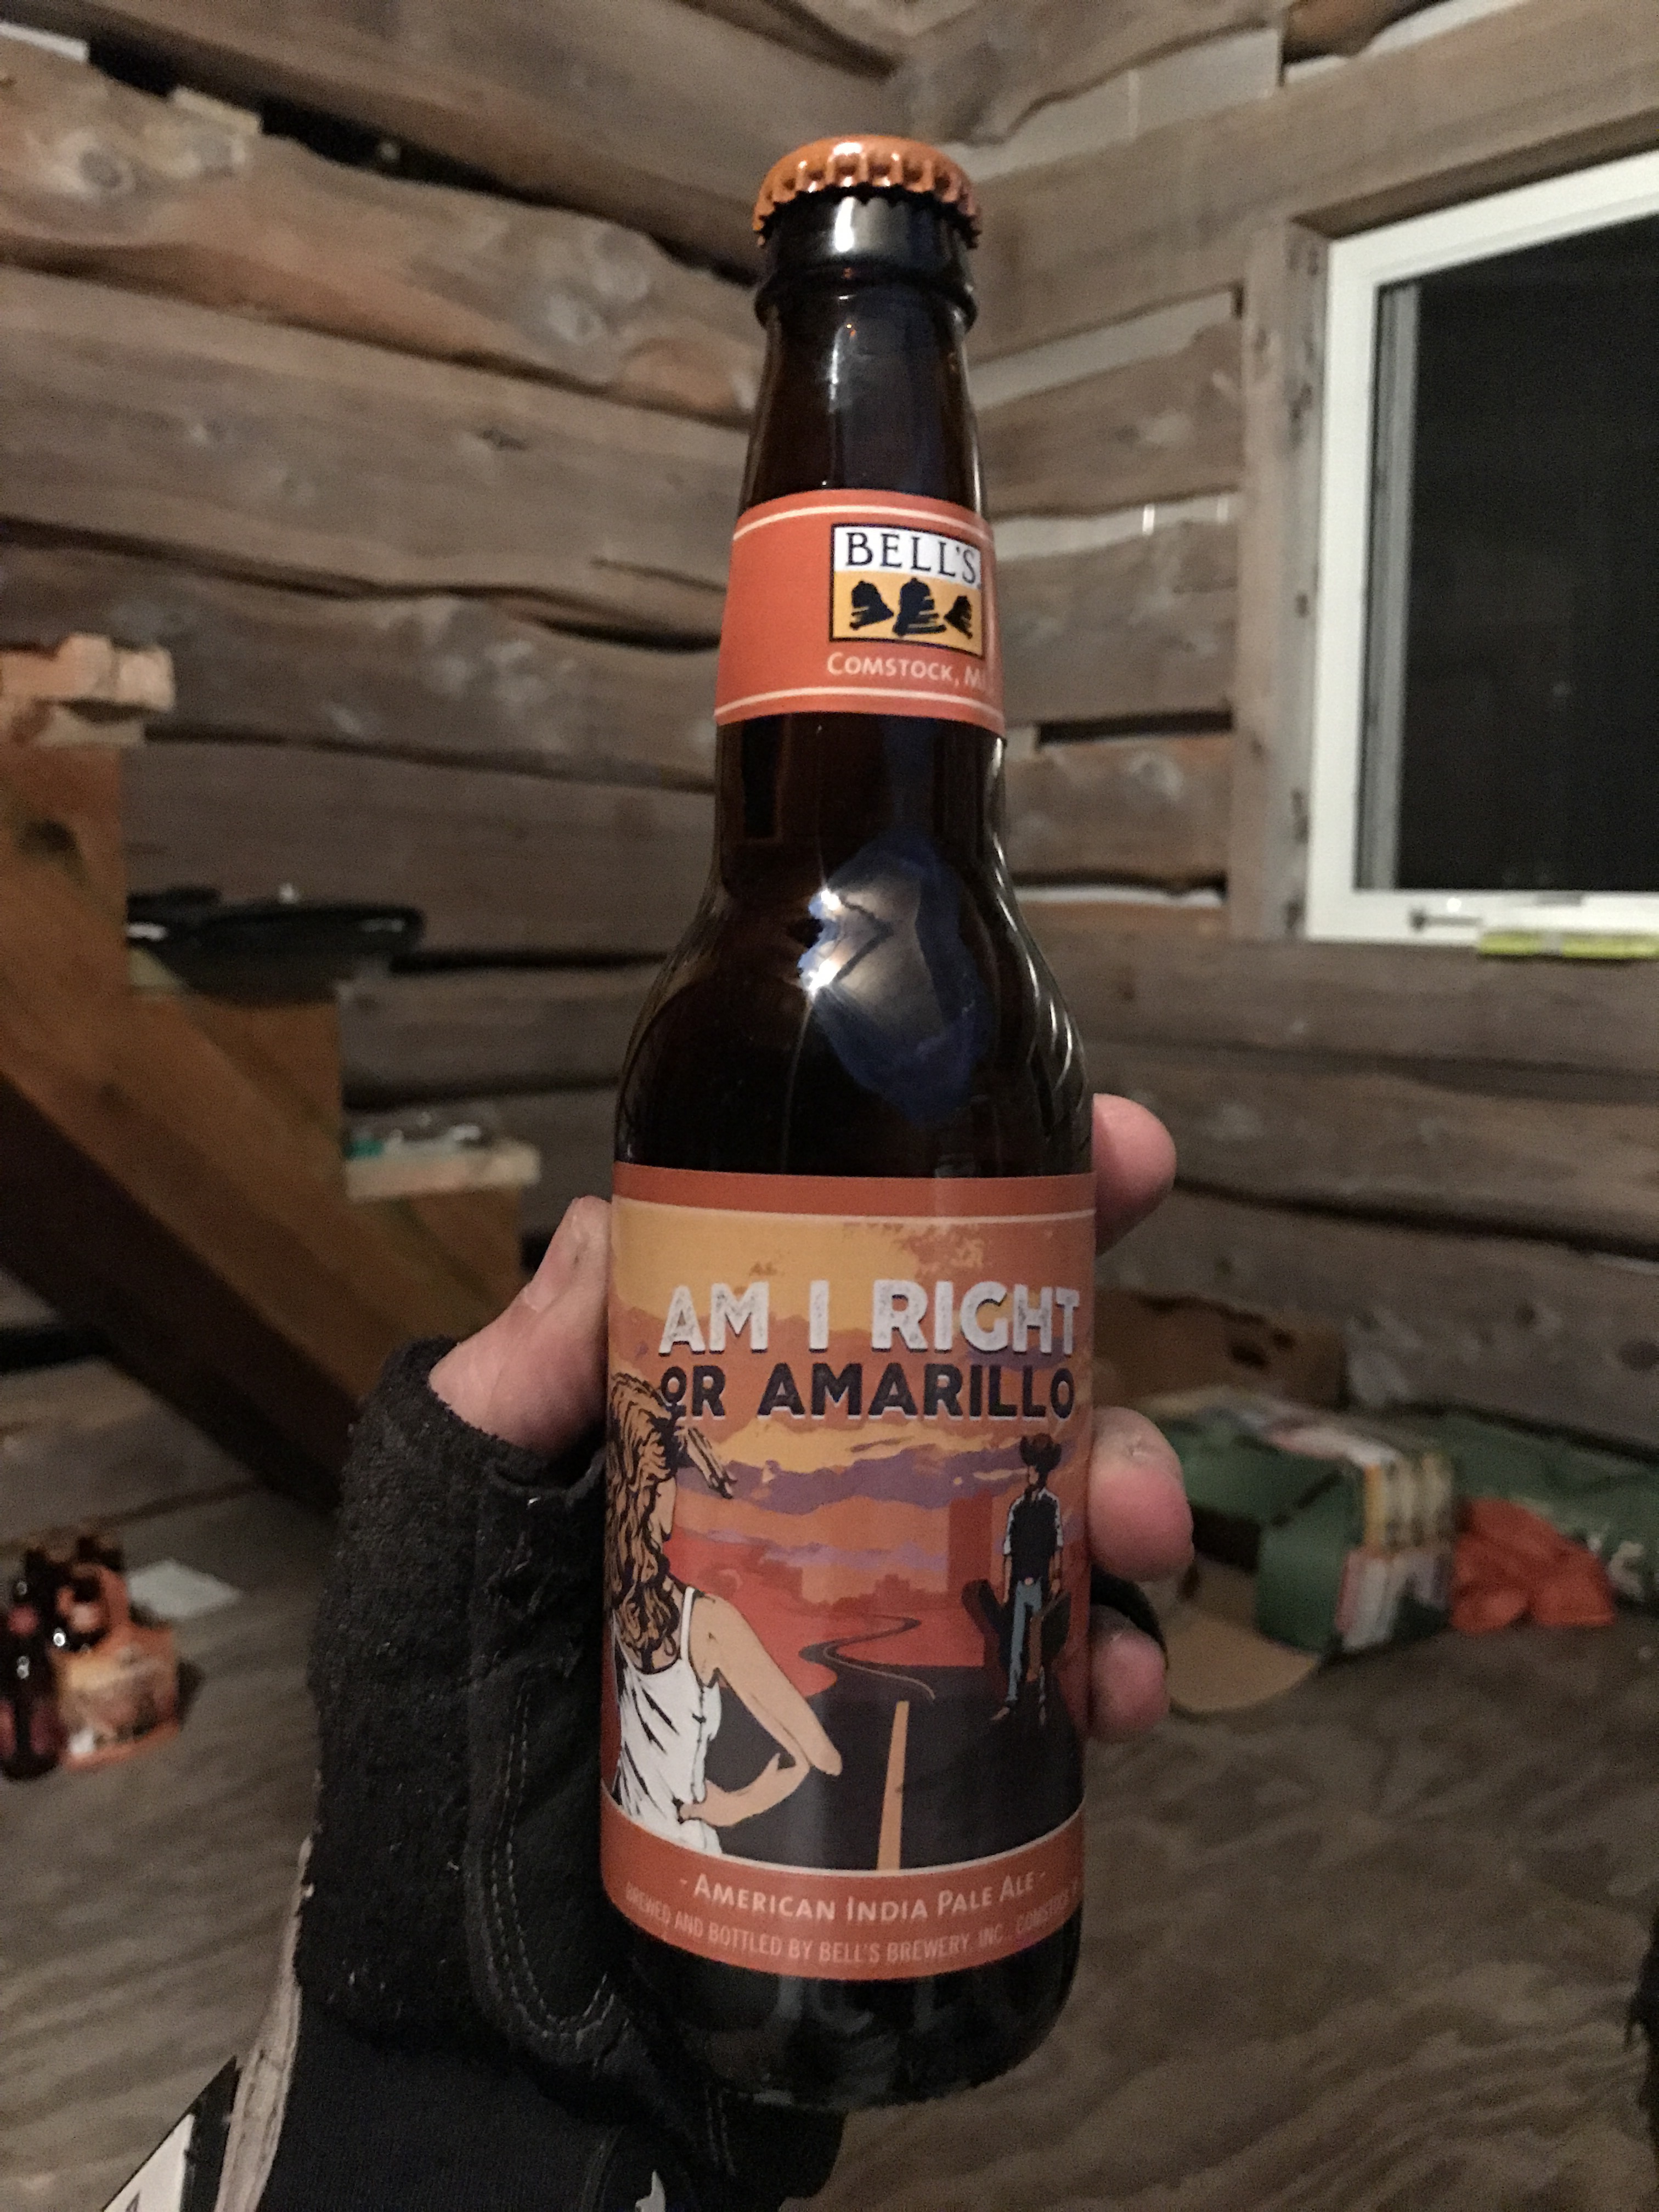
The extension was one big barn area until today; I started with the technical room walls. This is the room that will contain all technical stuff, such as the water heater and electrical panel. It’s relatively large, as it will also be for storage.
All Texans know it’s important to do good maintenance on your guns. Well, I found out the hard way why; after not cleaning it I couldn’t load it anymore…
In case you’re now thinking; wow, guns? Really? Yes, I am the proud owner of one big gun. Of the chincking type that is; it only fires chink, the crossover between cement and rubber that fills the gaps in between the logs. I spent 2 hours getting the barrel to come loose. When I’m done, I’ll make sure I will clean it properly.
Luckily the chink still works fine, even the half full bucket. It’s a lot of work, but I like the result;